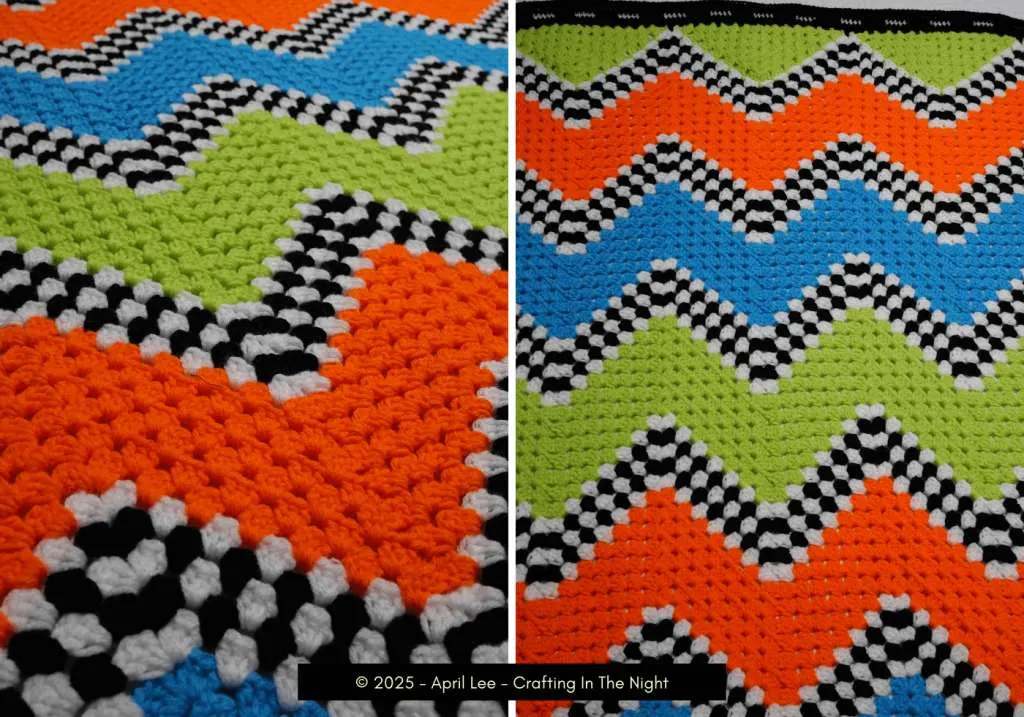
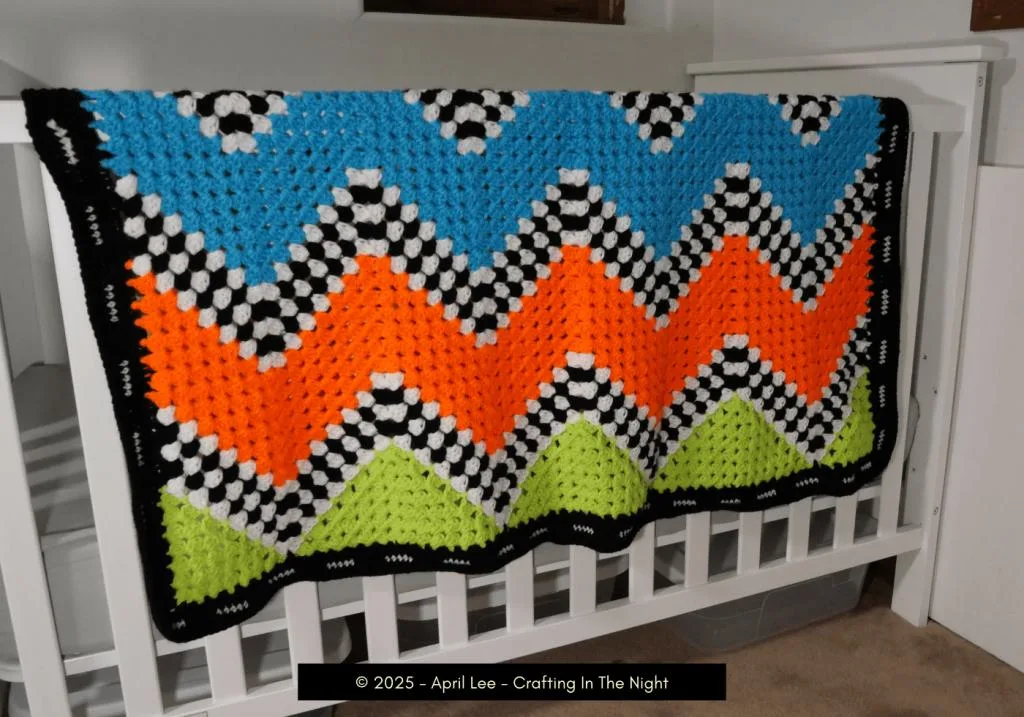
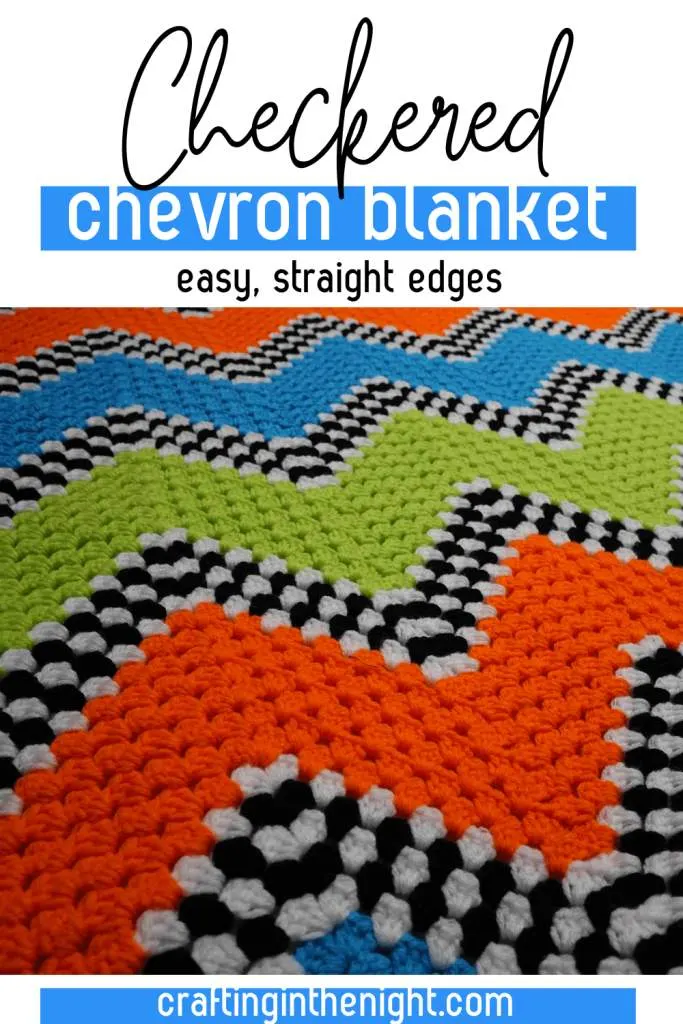
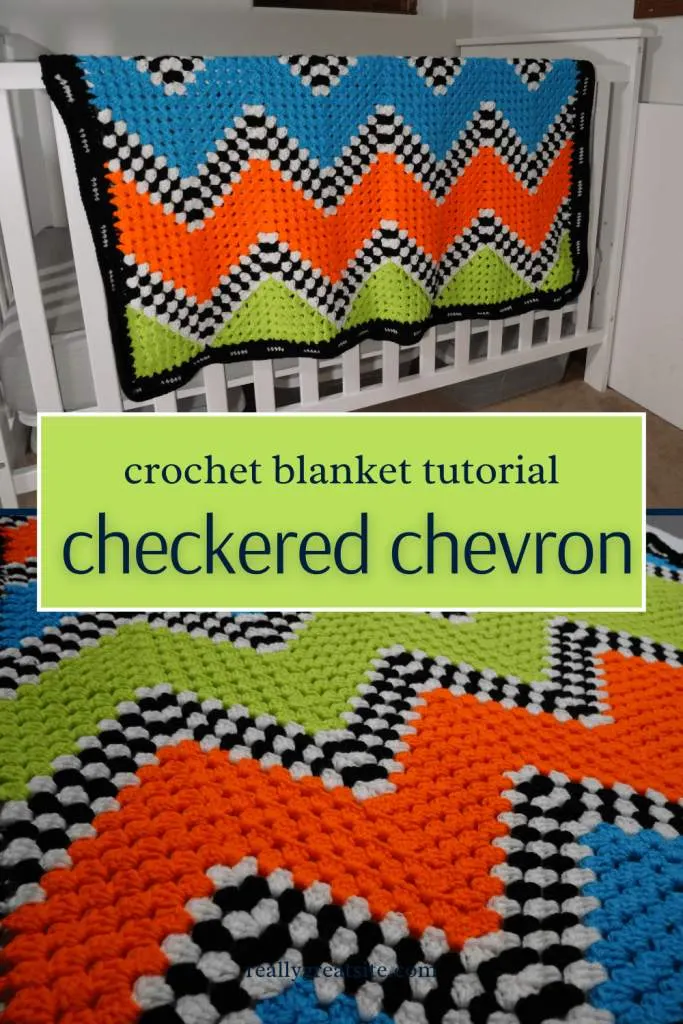
Though I’m not a NASCAR fan, something about the bold zigzags and high contrast of this blanket reminds me of a race track—and it all started as a stash-buster for some vibrant neon yarns I had on hand. One day, the inspiration struck, and this crochet chevron pattern with straight edge was born. Whether you use highlighter brights, primary colors, or soft neutrals, this design can take on a totally different personality depending on your palette.
The half granny square triangles and simple granny stitch rows make this blanket a breeze to build, and the checkered sections give it just the right amount of visual punch. It’s fast, fun, and endlessly customizable—perfect for donations, gifts, or a bold statement throw on your couch.

Crochet Chevron Blanket Pattern
🧵 Materials
- Medium (4) weight yarn (e.g., Big Twist)
- I/5.5mm crochet hook (I use this set)
- Tapestry needle
- Scissors
🪡 Abbreviations
- ch = chain
- dc = double crochet
- sp = space
- sl st = slip stitch
- st = stitch
- RS = right side
- WS = wrong side
🔺 Half-Granny Square Triangle (7 Rows)
These half granny triangles form the foundation of your blanket.
1️⃣ 1st Row
Make a magic ring.
Ch 3 (counts as 1 dc), then work:
- 3 dc into the ring (granny cluster)
- Ch 1
- 3 dc
- Ch 1
- 1 dc
Turn. You now have a 3-cluster triangle (including starting/ending dc for shaping).
🔁 Rows 2–7 (Repeat Row)
Ch 3, turn.
- Work a granny cluster (3 dc) into the space between the starting dc and next cluster.
- Work granny clusters into each space between clusters.
- At the peak (center ch-1 sp): (3 dc, ch 1, 3 dc)
- Continue with clusters in each space.
- At the end: (3 dc, ch 1, 1 dc) into the final space between the last cluster and edge dc.
Note: If your tension is tight, feel free to use ch 4 instead of ch 3 at the beginning of a row.

🤝 Joining the Half-Granny Square Triangles
Once all of your half granny square triangles are complete (each with 7 rows), you’ll join them side-by-side to form the base of your blanket.
✂️ Preparation
- Make sure all triangles have the same number of rows and are oriented with the last row facing the same direction (optional, but creates a cleaner look).
- Use the long yarn tail left from the last row of each triangle for seaming.
🧵 How to Join:
- Lay two triangles next to each other with the right sides facing up.
- Thread your tapestry needle with the tail yarn from one triangle.
- Match up the top edges of the triangles (where you finished the last row).
- Insert your needle into the space between the chain 3 and the granny cluster on both triangles and pull the yarn through.
- Continue sewing triangles together, working into the spaces between clusters or the top loops of the stitches—whichever feels more secure for you.
- Weave in the tail when you reach the end.
Repeat this process until all triangles are joined, forming one long foundation row for your blanket.
🪨 Row 1 (White)
When moving between triangles, you’ll encounter a valley. Here’s how to bridge it smoothly without creating a gap:
- Work 2 dc into the last space on the current triangle.
- Start a dc2tog as follows:
- Yarn over, insert hook into the same space, pull up a loop.
- Yarn over, pull through 2 loops (leave 2 on the hook).
- Yarn over again, insert hook into the first space on the next triangle, pull up a loop.
- Yarn over, pull through 2.
- Yarn over, pull through all three loops on the hook.
- Work 2 dc into that same first space on the next triangle.
This creates a tight, clean join between triangles and maintains the chevron effect.
- Continue up the next triangle with granny clusters and repeat the valley join where needed.
- When you reach the final triangle:
- Work a granny cluster into the last space.
- Ch 1, dc into the space between the final granny cluster and turning chain.
⚫ Row 2 (Black)
- Change to black yarn on the last dc of Row 1 by pulling through with black.
- Ch 4 (acts as dc + ch 1), turn.
- Skip the first space, work granny clusters across as in Row 1.
- Work all peaks and valleys the same way:
- Peaks: (3 dc, ch 1, 3 dc)
- Valleys: 2 dc, dc2tog across gap, 2 dc
- End with ch 1, dc into space between cluster and turning chain.

🌈 Changing Colors
If changing colors, do so at the last dc of the row:
- Complete the first part of the dc (up to the last yarn over),
- Yarn over and pull through with the new color.
Continue as usual. Leave tails long enough to weave in securely.
🎨 Color Sequence & Building the Blanket Height
Once you’ve completed the row of joined half granny square triangles, and you’ve worked the first two checkered rows, you’re ready to continue building the body of your blanket.
🧱 Stripe Repeats
You’ll repeat Row 2 (the stripe row with valleys and peaks) for the remainder of your blanket, alternating colors to create a checkered look.
✅ Color Pattern
Each checkered segment is made of 5 rows in the following color order:
- White
- Black
- White
- Black
- White
After each 5-row checkered section, you’ll follow it with a 7-row block of a solid color of your choice (e.g., neon green, pink, yellow—whatever suits your color palette).
Then repeat the 5-row checkered section again.
📏 How Tall Should It Be?
Repeat the [5-row checkered section + 7-row solid section] as many times as needed to reach your desired blanket height. Stop when the last row of a checkered section gives you the right height.
👉 In the sample blanket I ended with a final 5-row checkered section when the last peak looked visually balanced for the size of the blanket.
🤝 Half-Granny Square Triangle: Join-As-You-Go
After completing Row 6 of your last half granny square, do Row 7 while joining to the blanket.
- Ch 3 and turn.
- Begin your row as normal.
- At each space between clusters, work:
- Granny cluster (3 dc)
- Ch 1
- Sl st to corresponding space on blanket
- Ch 1
- At the peak, work:
- 3 dc
- Ch 1
- Sl st into the valley between peaks
- Ch 1
- 3 dc
- Finish the row, ending with a granny cluster, ch 1, and 1 dc.
- Fasten off and weave in ends.
📐 Granny Square Corner Triangles (a.k.a. Quarter Granny Squares)
These fill in the top or bottom corners of your rectangular blanket.
- Start with a magic circle.
- Row 1: Ch 3, 3 dc, ch 1, 1 dc. Turn.
- Rows 2–6:
- Ch 3, turn
- Work granny clusters in side spaces
- At peak: (3 dc, ch 1, 3 dc)
- End with a granny cluster and 1 dc
- Row 7: Join-As-You-Go
- Attach to the top or bottom edge using the same method as the half granny squares.

🧵 Tips, Tricks & FAQs
🔄 Do I chain between clusters?
- Personal preference! The designer does not chain between clusters, but you can if you usually do. Just stay consistent.
📏 How many triangles do I need?
- Make enough to reach the desired width of your blanket.
- For a 36″ blanket using Big Twist yarn and an I hook, 4 triangles = approx. 36″.
🪡 Why chain 1 at the peak?
- It creates a tidy corner without a large gap. You may chain 2 if you want a looser center peak.
🧹 My triangle curves. Is that okay?
- Yes! It will flatten out once joined to other triangles and rows. Blocking is optional.
🧶 Border (Optional)
To straighten edges and frame your blanket, you can add a half double crochet (hdc) border.
- Start in any corner: Sl st, ch 2 (counts as first hdc).
- In large spaces: place 3 hdc
- In small spaces: place 2 hdc
- In corners:
- (2 hdc, ch 1, 2 hdc)
- For center joins:
- If tight, split the middle: 1 hdc in each adjacent space.
Finish the round by sl st into the top of the starting ch-2. Continue with additional border rounds if desired.
⚠️ Border Stitch Count May Vary
When adding your border, it’s important to keep in mind that your yarn type, hook size, and personal tension can all affect how many stitches you’ll need to place in each space.
If you add too many stitches, your border may start to ruffle or ripple outward.
If you add too few, the edges may pull in or curl.
Here’s what worked for me using Big Twist yarn and an I (5.5 mm) hook:
- 3 half double crochets (hdc) in large spaces
- 2 hdc in smaller spaces
- In corners: (2 hdc, ch 1, 2 hdc)
But don’t be afraid to adjust! Always keep an eye on your edge—if it’s laying flat and smooth, you’re on the right track. If it’s starting to bunch or wave, try changing the number of stitches per space until it looks right for your project.
