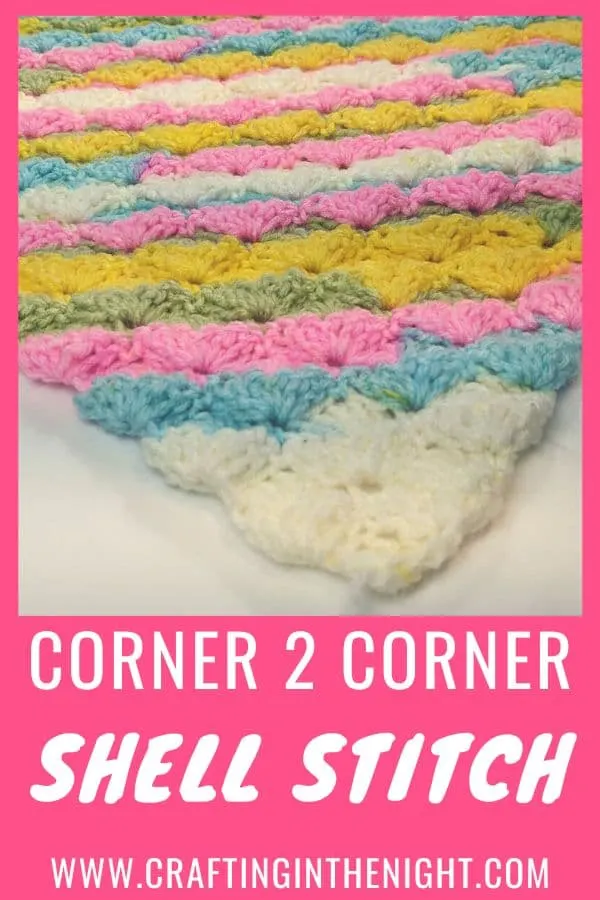
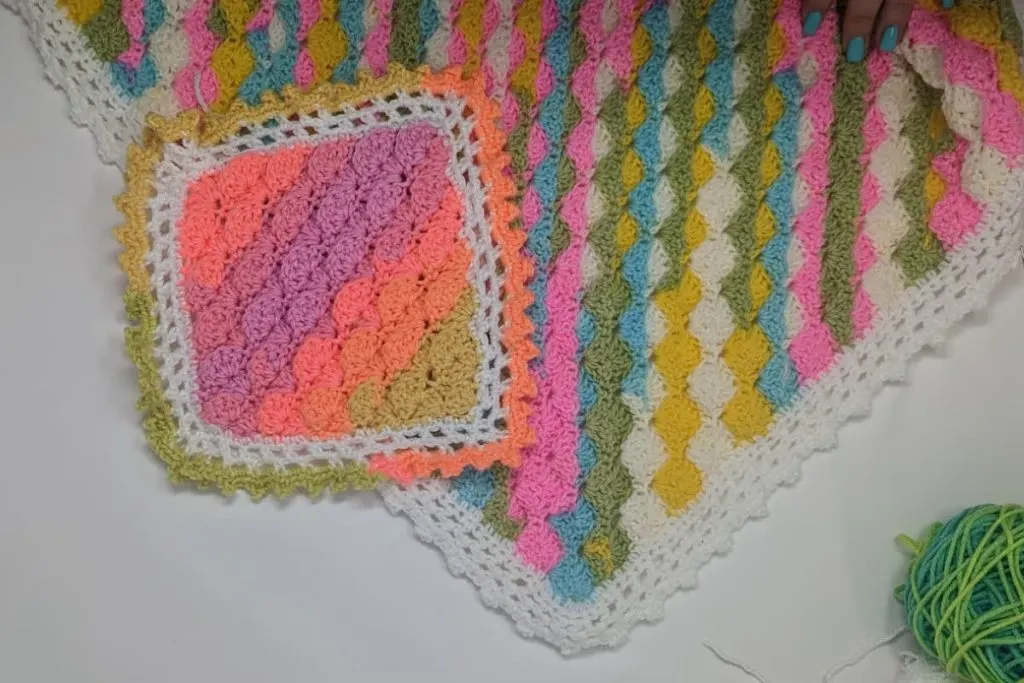
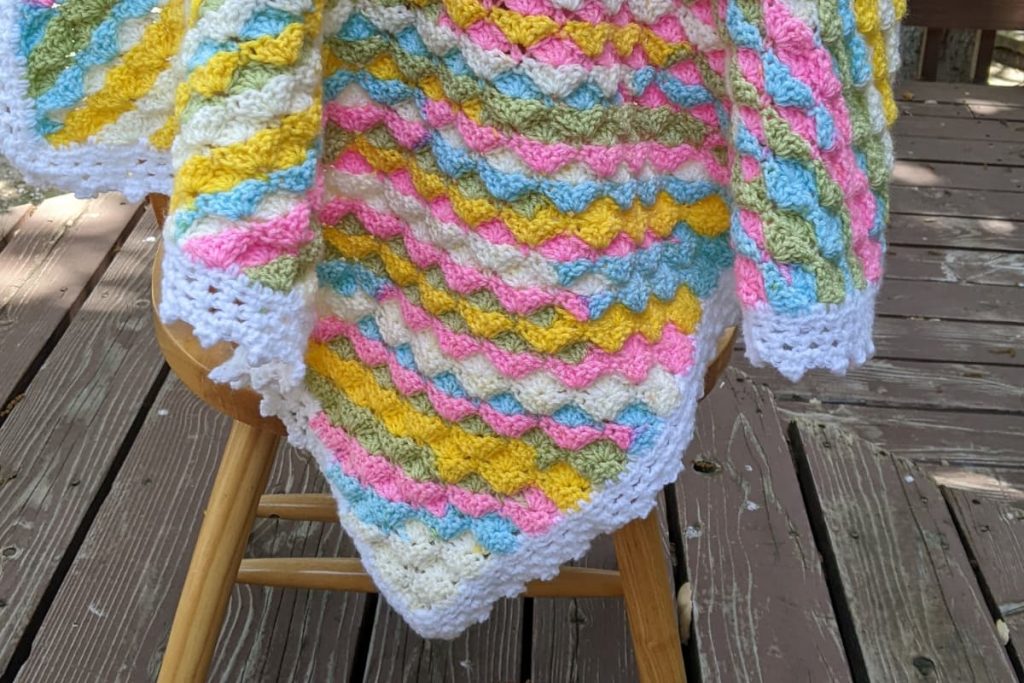
Crochet enthusiasts, get ready to add the C2C Shell Stitch to your repertoire! The corner to corner shell stitch is a beautiful and versatile pattern that can be used to create stunning blankets, shawls, scarves, and more.
This particular version of the shell stitch I discovered in a vintage book titled “Priscilla Wool Crochet Book” published in 1912 for a woman’s shawl. I’ve adapted the pattern and converted it to modern terms, so you can easily follow along and create your own masterpiece. Grab your hook and yarn, and let’s dive into the corner to corner shell stitch!
If you want to share this pattern with your friends, please send them a link directly to this page or to the YouTube video. While the original pattern instructions are in the public domain, my written adaptation is copyright protected.

Crochet Skills Needed
This pattern is suitable for advanced beginners. It’s best if you know how to do a traditional corner to corner blanket before attempting this pattern. Once we get started, this is a fairly simple two row repeat however, there are some tricky parts. I’ll walk you through everything step by step.
In order to complete this blanket, you will need to either know or be willing to learn the following crochet concepts:
- Chain, Slip Stitch, Single Crochet, Double Crochet
- Weaving in Ends
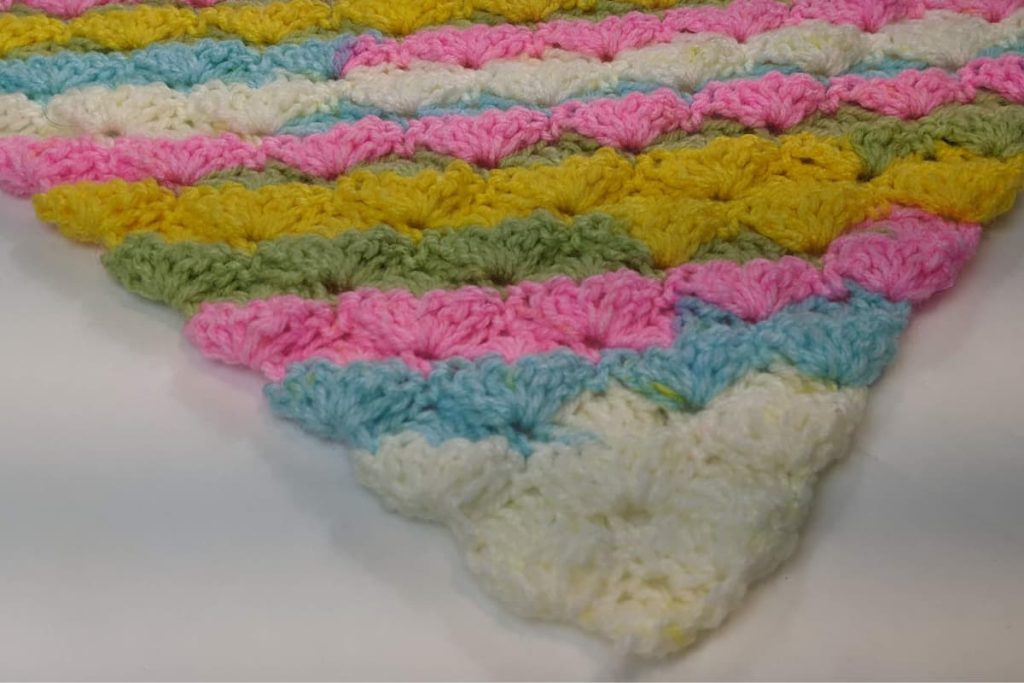
You can make this project all in one color however, in this pattern I’ll be using a self striping yarn which results in the beautiful color pattern you can see below.

Stitches for this C2C Shell Stitch Crochet Pattern
For this pattern, you will need to know how to do the following stitches. For a step by step walk through of any stitch, in both pictures and video, click the link for the tutorial.
Chain (ch)
- Yarn over (yo)
- Pull through loop
Slip Stitch (sl st)
- Insert hook under both top loops of the stitch you are working into.
- Yarn over (yo)
- Pull through both loops on hook
Single Crochet (sc)
- Insert hook under both top loops of the stitch you are working into
- Yarn over (yo)
- Pull up a loop by drawing yarn through the stitch you worked into (there will be two loops on your hook)
- Yarn over and pull through the two loops on your hook.
5dc Shell (shell)
- Place 5 double crochets into stitch or space indicated.
Required Materials
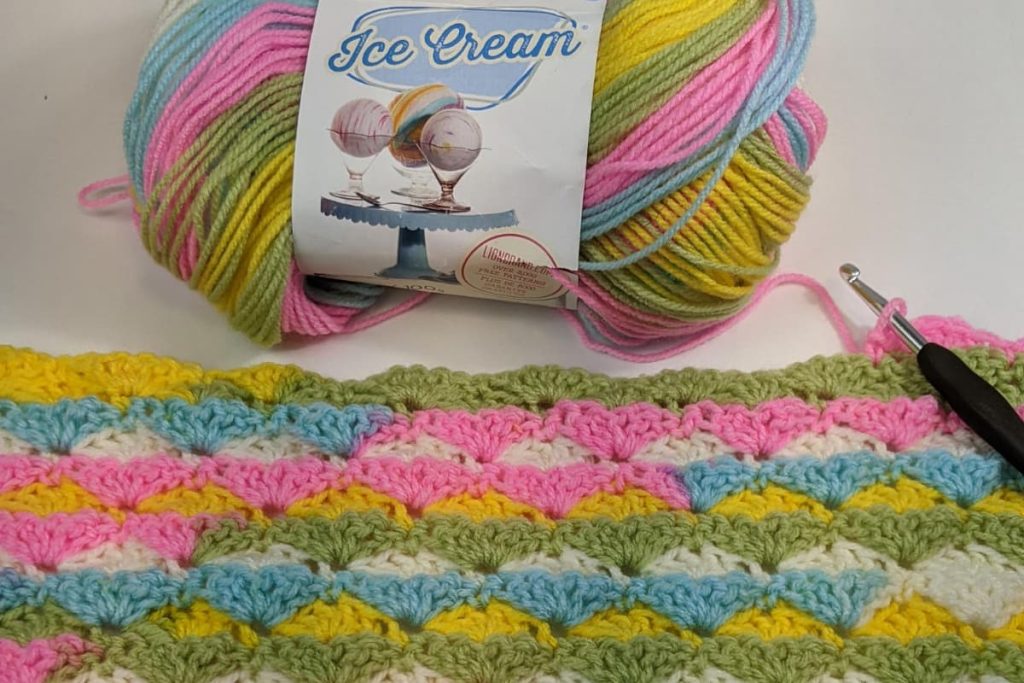

You can use any weight, color, or brand of yarn to complete this project. You’ll want to be sure to pick the right sized hook for whatever yarn you choose. Here are the supplies I used:
- Size I Crochet Hook
- Lion Brand Ice Cream in Bunny Tracks (I used these small balls but it also comes in a Big Scoop)
Free Written Pattern for the C2C Shell Stitch
The pattern in this section is written out in plain English terms for my readers who aren’t yet familiar with the standard abbreviations. The abbreviated version of this pattern is found in the project card at the bottom of this post.
To Start: Make a magic ring or chain five and join with a slip stitch to form a ring.
First Row: Chain 3 and work 4 double crochets into the ring. This forms our first shell of five double crochets. Chain 4 and turn.
Row 2: Work a shell into the first stitch of the chain 4. Secure the shell with a single crochet in the middle stitch of the first shell. Skip 1 stitch and work as shell into the top of the starting chain 3. Chain 2 and turn.
Row 3: Work a shell into the middle of the first shell in the previous row. Secure the shell with a single crochet in the single crochet between the two shells of the last row. Work a shell into the middle stitch of the next shell. Single crochet in top of chain 2 in the previous row. Chain 4 and turn.
Row 4: Work a shell into the first stitch of the chain 4. Secure the shell with a single crochet in the middle stitch of the last shell in the previous row. *Work a shell into the next single crochet in the row below. Single crochet into the middle of the next shell to secure. Repeat from *. Work a shell into the last stitch of the last shell. Chain 2 and turn.
Row 5: *Work a shell into the middle of the next shell on the previous row. Fasten with a single crochet in the next single crochet. Repeat from *. When you reach the end of the row, secure the shell with a single crochet into the top of the chain 2 in the previous row. Chain 4 and turn.
Repeat rows 4 & 5 until one side of your work is the length or width you would like to be. End on a repeat of row 5, chain 2 and turn to work your decrease row.
Decrease Row: Single crochet into the middle stitch of the shell in the row beneath. Chain 1. Work a shell into the next single crochet in the row below. Single crochet into the middle of the next shell to secure. Repeat from *. Chain 2 and single crochet into the top of the starting chain 2 in the previous row. Chain 1 and turn.
Decease Row 2: Single crochet into the next single crochet. *Work a shell into the middle of the next shell on the previous row. Fasten with a single crochet in the next single crochet. Repeat from *. Chain 2 and turn.
Repeat the decrease rows until there are 2 shells on your hook.

Tips & Tricks
- Use Stitch Markers: If you find yourself having trouble determining where the middle of your shells are, or finding the single crochets in between shells, consider using stitch markers to mark these stitches as you go. After awhile, you’ll learn to spot these stitches on your own, but the stitch markers can be a great help when you are getting started.
- Chain Loosely on Decrease Rows: On your decrease rows, you may find that your work wants to curl at the end. To avoid this, make sure your chain 2 is fairly loose so it doesn’t pull in the last shell.
- Add Texture: With the Lion Brand Ice Cream yarn, I felt I got sufficient texture with the pattern as written above however, when working single crochet or shell stitches into a shell, you can work in the back loop only of the stitch you are working into. Doing this creates a more noticeable texture for the afghan.
- Increase Pattern: Unlike a traditional C2C pattern, the C2C shell pattern works up as follows:
- Row 1: 1 Shell
- Row 2: 2 Shells
- Row 3: 2 Shells
- Row 4: 3 Shells
- Row 5: 3 Shells
- Row 6: 4 Shells
- Row 7: 4 Shells
- Decrease Pattern: The decrease pattern will follow the same methodology as the increase, but in reverse so the decrease will happen every other row i.e.
- Row 8: 3 Shells
- Row 9: 3 Shells
- Row 10: 2 Shells
- Row 11: 2 Shells
- Row 12: 1 Shell
Video Tutorial