I’ve wanted to try a wave blanket for a while now and the perfect opportunity arose when I decided to make a blanket for a friends young daughter. She loves bright colors so I went on a search to find a color palette I thought would suit her. I knew I needed something with pinks and blues for sure.
I love using stock photography sites for inspiration for my color palettes. They can be especially helpful when trying to decide on a stripe sequence. For this project, I went to my favorite source of inspiration, Shutterstock, and found a stripe pattern that I loved!
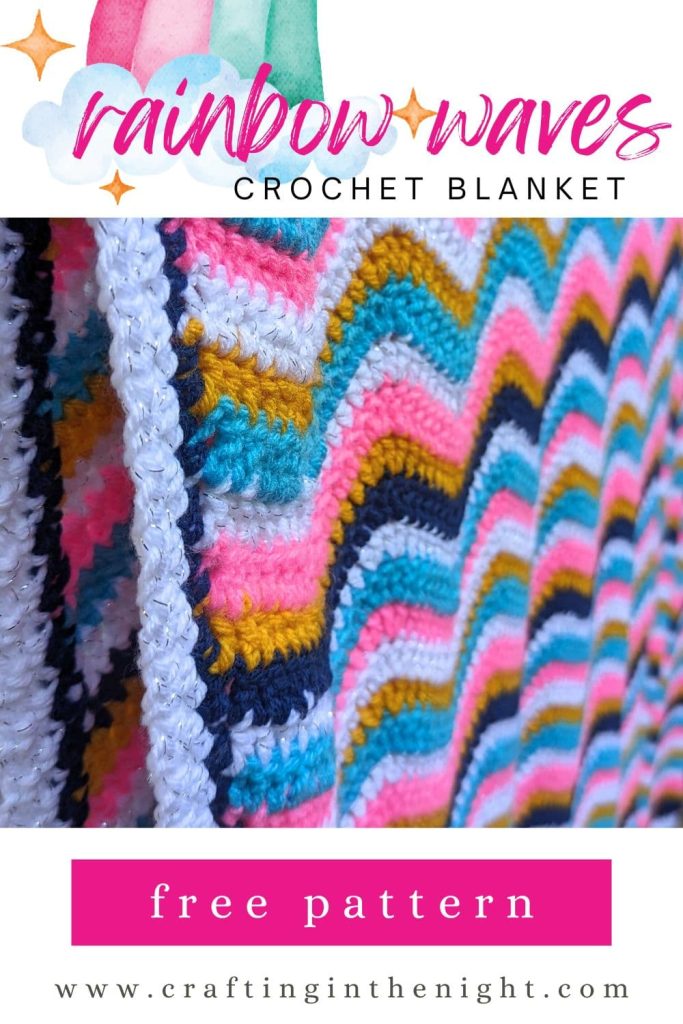

I new immediately this would work perfect for a crochet wave stitch afghan. I also knew I wanted it to be one row per color. If you’re new to crochet, you know that means that I would be weaving in a ton of ends.
For my size blanket, there are 101 rows. That’s 202 ends to weave not counting the border. Because of that, this project isn’t for the faint of heart (though see my tip below for ends). The good news is, all the color changes made this my favorite blanket to pickup and work on.
You could certainly just as easily make each section of color wider to avoid weaving in ends. This would also look great in an ombre or cake yarn!
Materials
You can use any weight, color, or brand of yarn to complete this project. You’ll want to be sure to pick the right sized hook for whatever yarn you choose. Here are the supplies I used:
- Red Heart Super Saver – Gold
- Red Heart Super Saver – Turqua
- Red Heart Super Saver – Pretty in Pink
- Red Heart Super Saver – Soft Navy
- I Love This Yarn Metallic – White
- Size J (6.0 mm) Crochet Hook (I love this set from Amazon.com)
- Yarn Needle
Crochet Skills Needed
I would consider this a beginner level pattern. It is a simple repeat and very easy to complete once you get the hang of it. If you follow my color scheme, you’ll also be a pro at weaving in ends by the time you are done with the blanket!
In order to complete this blanket, you will need to either know or be willing to learn the following crochet concepts:
- Chain
- Double crochet
- Double crochet two together
- Joining new colors at the end of a row.
- Weaving in ends
Stitches for this Ripple Wave Crochet Pattern
I love this pattern for beginners because the stitches used are so simple. You’ll need to know how to do the following crochet stitches:
Chain (ch)
- Yarn over (yo)
- Pull through loop
Double Crochet Two Together (dc2tog)
- Yarn over (yo)
- Insert hook under both top loops of the stich you are working into.
- Yarn over
- Pull through two loops on hook
- Yarn Over
- Insert Hook under both top loops of the next stitch
- Yarn over
- Pull through two loops
- Yarn over
- Pull through all remaining loops on hook

Starting Chain for the Wave Stitch
This wave stitch I used for this blanket has five stitches in between each peak and valley. You can shorten or lengthen this number.
Shortening the number of stitches between each will cause the ripples/waves to be closer together. Lengthening will cause the waves to be longer and farther apart.
| # Stitches in Wave | Repeat Count |
|---|---|
| 2 | 10 + 3 |
| 3 | 12 + 3 |
| 4 | 14 + 3 |
| 5 | 16 + 3 |
| 6 | 18 + 3 |
| 7 | 20 + 3 |
Note: This repeat chart only works if you’re following the rest of the pattern exactly to form the peaks and valleys.
Using the repeat chart above, create a starting chain roughly equal to the width you would like your final blanket to be and then add approximately another 5%. When in doubt, I recommend doing one extra repeat. This help to ensure your blanket is the width you want.
Of course, if you need a specific size blanket, its best to work a gauge swatch for a couple of rows.
Each “valley” you create for the bottom of the wave will slightly decrease the width of the finished project. A shorter wave will decrease the width more than a longer wave.
In the written tutorial for this afghan, the instructions represent a five stitch wave pattern as I did for this blanket.
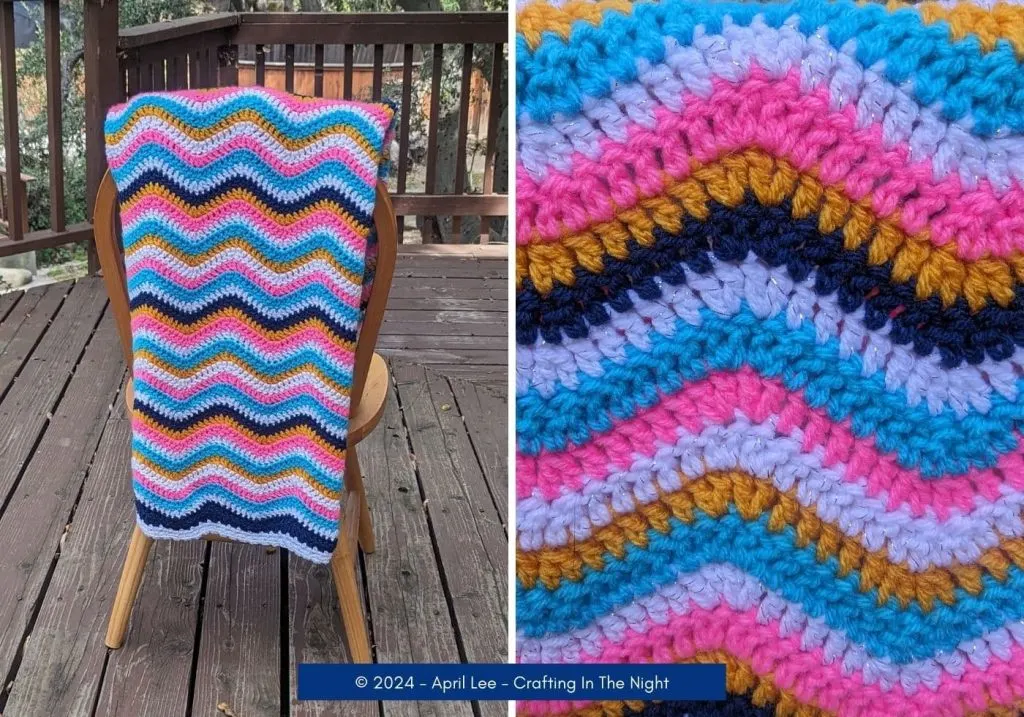
Rainbow Wave Crochet Pattern
Finished Size: 52″ x 70″
The pattern in this section is written out in plain English using US terms for my readers who aren’t yet familiar with the standard abbreviations. The abbreviated version of this pattern will be available soon.
FOUNDATION ROW: Using the repeat chart above, create a starting chain roughly equal to the width you would like your final blanket to be. I used a starting chain of 163.
ROW 1: Double crochet in the fourth chain from the hook (the first three chains count as first double crochet), double crochet in the next six stitches. *Double crochet two together two times. Double crochet in the next five stitches. Place two double crochets in each of the next two stitches. Double crochet in the next five stitches.* Repeat from * until you reach your last set of five stitches.
On the last leg, you should have six stitches remaining. Work double crochets into the top of each stitch. Work two double crochets into the last stitch, changing color on the final pull through of the last double crochet.
💡 TIP: The starting and ending legs should always have 7 stitches.
ROW 2: Chain 3 and turn.
Double crochet in the fourth chain from the hook (the first three chains count as first double crochet), double crochet in the next six stitches. *Double crochet two together two times. Double crochet in the next five stitches. Place two double crochets in each of the next two stitches. Double crochet in the next five stitches.* Repeat from * until you reach your last set of five stitches.
On the last leg, you should have six stitches remaining. Work double crochets into the top of each stitch. Work two double crochets into the last stitch, changing color on the final pull through of the last double crochet.
ROWS 3+: Repeat row 2 until blanket is your desired length.
💡 TIP FOR ENDS: In this blanket I weaved in all my ends which is quite a project. You could also do a fringe or tassel edge instead to avoid weaving in all those ends!
Color Sequence
For this blanket I worked the following color sequence a total of 10 times.
- Navy
- Gold
- Pink
- White
- Turquoise
- Gold
- White
- Pink
- Turquoise
- White
Finishing
To finish the blanket, I used a simple moss stitch border. You can find instructions for the border here: Simple Crochet Border for Beginners.
Progress Tracker


Share Your Work
Did you create a project based on this pattern? I’d love to see your creation. Tag me on Instagram or post a picture in my Facebook group!