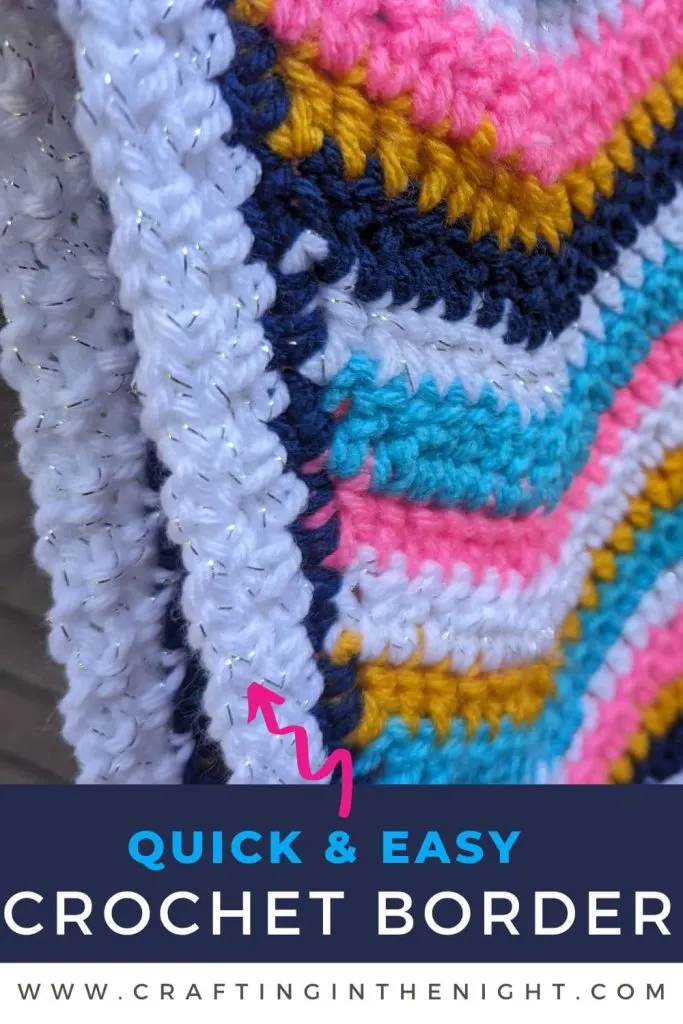
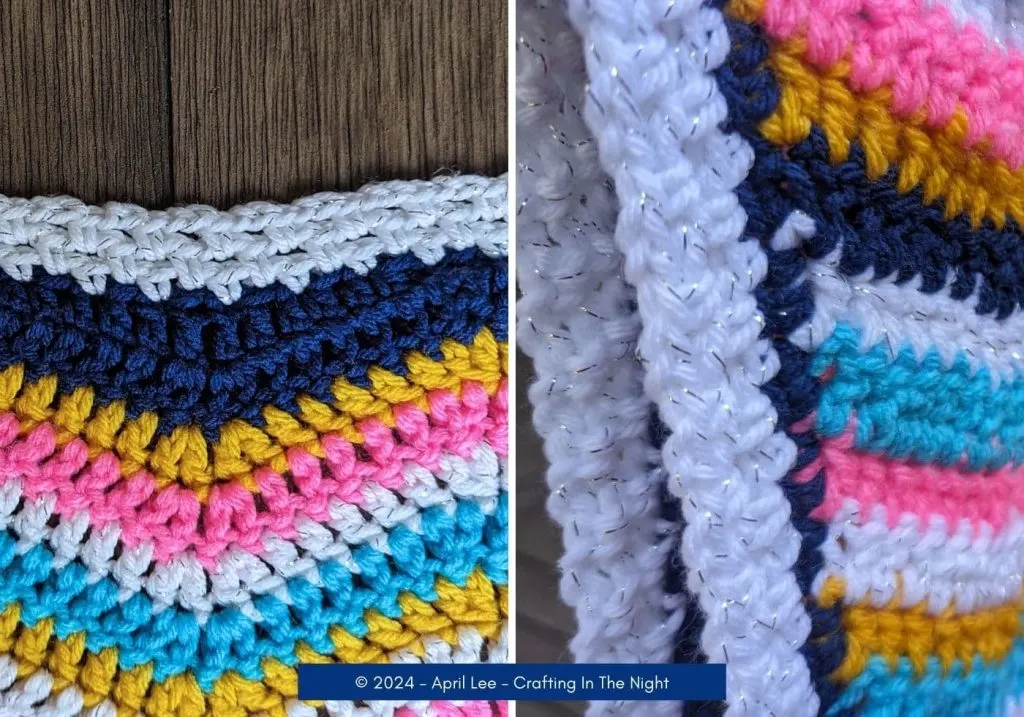
If you’re like me and love adding that perfect finishing touch to your blanket projects, then you’re in for a treat! In this post, I’ll walk you through creating a beginner-friendly crochet border that will take your blankets to the next level.
What I love about this crochet border is how easy it is to make. With just single crochets and chain stitches, you can create a beautiful edge that will enhance the overall look of your blankets. Whether I’m making a cozy throw for my living room or a special gift for a little one, this border is versatile and timeless.
In fact, I recently added this border to my Rainbow Waves blanket which also has a free pattern!

The best part is that this border is perfect for baby blankets too. Whether you’re making a blanket for a baby girl or boy, this border adds a delightful touch that complements any color scheme or design. It’s a wonderful way to add a personalized and handmade feel to your baby blankets, making them even more special.
I believe that everyone should have the opportunity to create beautiful, handmade items, and this crochet border is a fantastic starting point for beginners.
So, grab your crochet hook and yarn, and let’s get started on adding a delightful finishing touch to our blanket projects. Whether you’re an experienced crafter or just starting out, I’m excited to share this simple yet impactful crochet border with you!

Simple Crochet Border Pattern
This border consists of the moss stitch (aka the linen stitch) which uses a simple repeat of single crochets and chains.
ROUND 1: Single crochet around your entire project to form an even edge. Work 3 single crochets into each corner space. If you can, try to ensure you have an odd number (corner to corner). Join with a slip stitch to your starting single crochet.
If you don’t like counting, don’t worry, we can correct for that in round 2.
💡 TIP: You can use any even stitch for this base row. While I typically use single crochets, you could use a half double or double as well. The idea is to get a base of evenly spaced stitches all around your blanket.
ROUND 2: Chain 1 and turn your work. Single crochet into the chain space. *Chain 1. Single crochet into the next chain space.* Repeat from * until you reach the corner. Work a single crochet, chain 1, single crochet all into the corner space. Once you have reached our corner, continue to repeat from * until you have worked all the way around your blanket. Join with a slip stitch to your starting single crochet.
💡 TIP: Depending on your starting stitch count, as you reach the corner you may realize there is not a space to skip before working the corner. In that case, still chain 1 and then go ahead and work the corner. This typically will not be noticeable and additional rounds will work out from then on.
ROUNDS 3+: You can repeat Round 2 as many times as necessary to get your desired border width. Once your border is complete. Finish off and weave in your ends.
More Tips
- You can use this border on round blankets, or projects with round corners as well. Instead of working the corner as described above, simply continue on all around your project with the pattern repeat of chain 1, single crochet in the next chain space.
- To add a slightly more feminine feel to this simple border, on you last round chain 2 instead of chaining one. This will add a dainty ruffle.
- Feel free to experiment with color changes each row. This can add additional interest to your project!
Share Your Work
Did you create a project based on this pattern? I’d love to see your creation. Tag me on Instagram or post a picture in my Facebook group!
