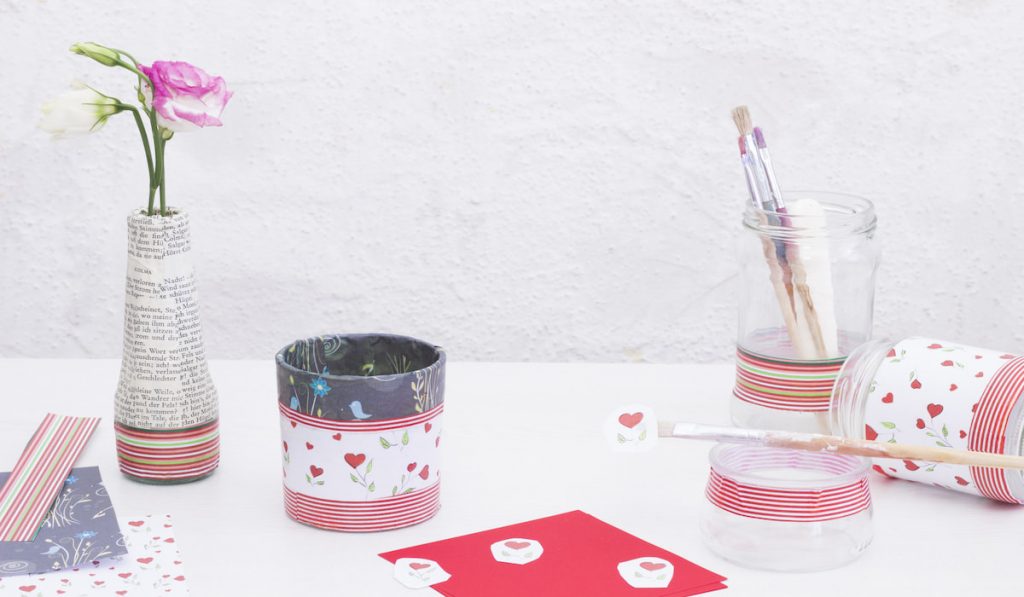
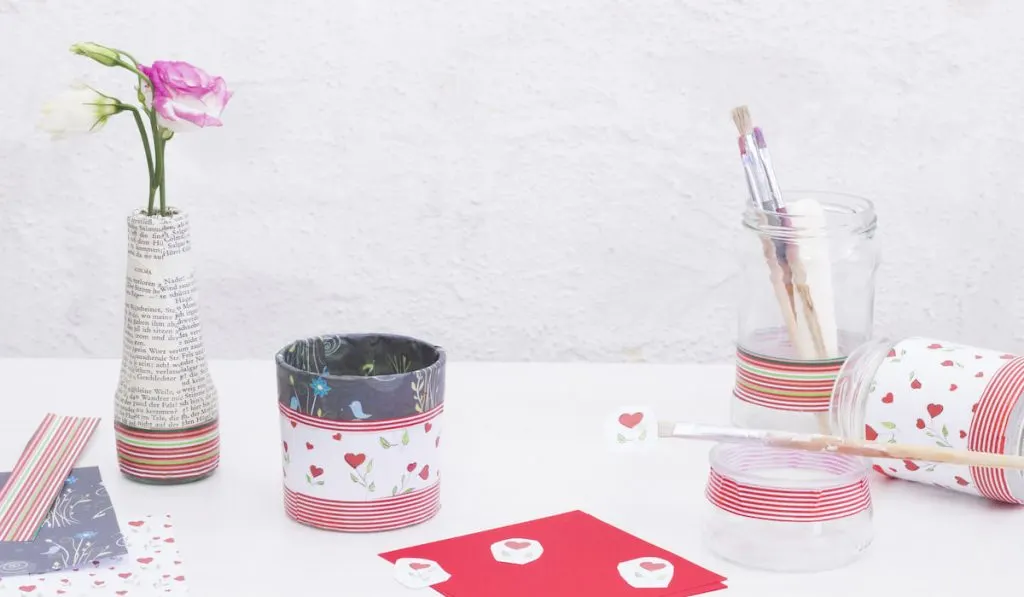
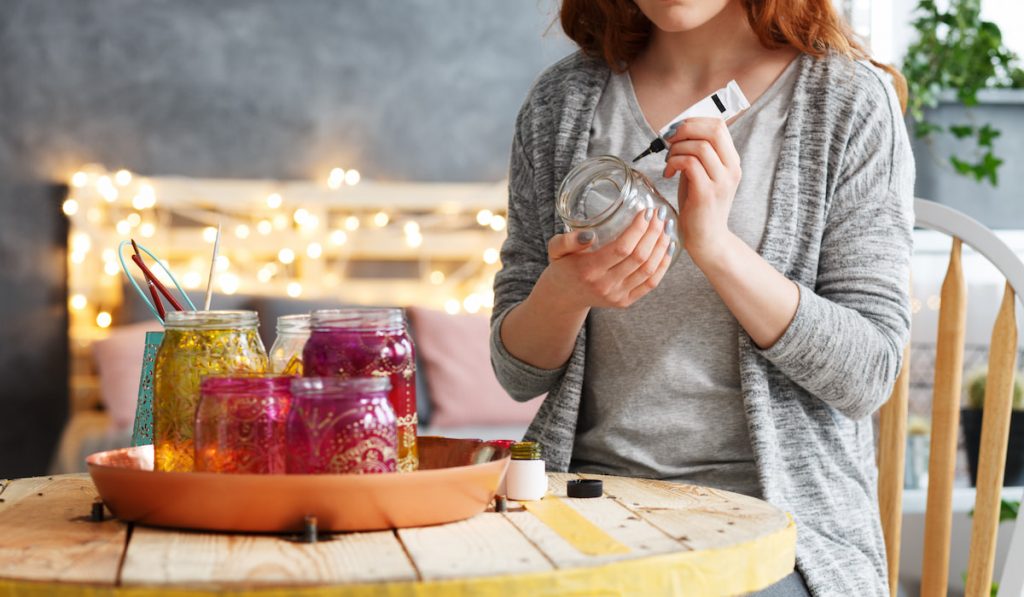
Decoupaging on Glass is a terrific way to spruce up mason jars or any other glass containers you have. Tons of people like to use glass jars to store pencils, buttons, tools, and a million other small things. They look nice and it’s a great way to recycle.
Decoupaging glass jars is a fantastic way to add some nice designs to your jar whether you want something that looks nice in your crafting room or your kids like a certain type of animal or pattern for glass jars in their rooms.
If you’ve never attempted decoupaging on glass, or you’ve tried and have had a hard time getting it right, we’ve put together this list of tips to get you through. With the right supplies and a bit of patience, you’ll get things right and will know how to make lovely jars that are perfect for decorating your spaces.
1. Get All of the Right Supplies
Here’s what you will need to get started.
- The Glass Jar – Obviously, you need a glass jar. When decoupaging, make sure that you’ve got a jar that you can fit your hand into pretty easily. If you can’t get your hand in there or it’s a tight fit, it’s going to make things much harder.
- Paper – Find paper designs that you love. Most often, you can find these in scrapbooking stores or craft stores.
- Small Scissors – Sewing or manicure scissors are great for decoupaging on glass because they can cut small pieces and make those tight corners with relative ease. They also have holes for your fingers that make them more comfortable to use.
- Mod Podge – You’ll need some sort of adhesive. We find that Mod Podge works just great. You’ll also need a brush to apply the Mod Podge.
- Masking Tape – You will need some tape that’s not see-through to keep you inside the lines. Masking tape is probably best.
2. Plan Your Design Ahead of Time
Cut out the images or shapes ahead of time and create a mockup of what you want your design to look like in the jar.
Lay them out on a table or a crafting board to get an idea of how you want to put things in your jar before you attempt anything.
3. Use Masking Tape on the Top and Bottom of Your Jar
Masking tape is a great tool that you can use to keep your images or patterns in a certain frame.
Sometimes, as you move around the clear glass, you lose sight of lines. You end up with crooked patterns and have to make up for mistakes when you are halfway done. The tape essentially keeps you in the lines.
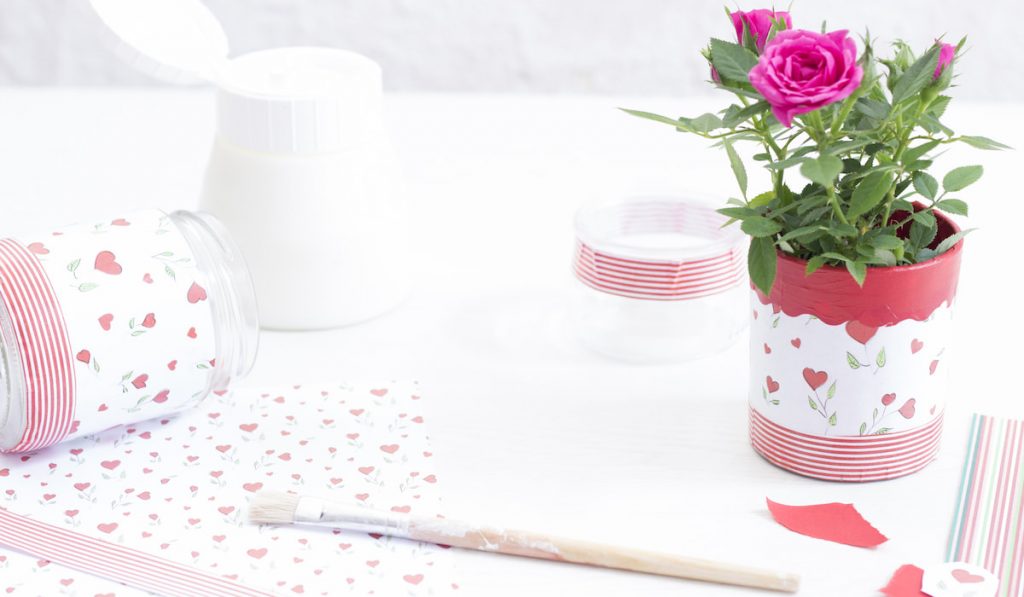
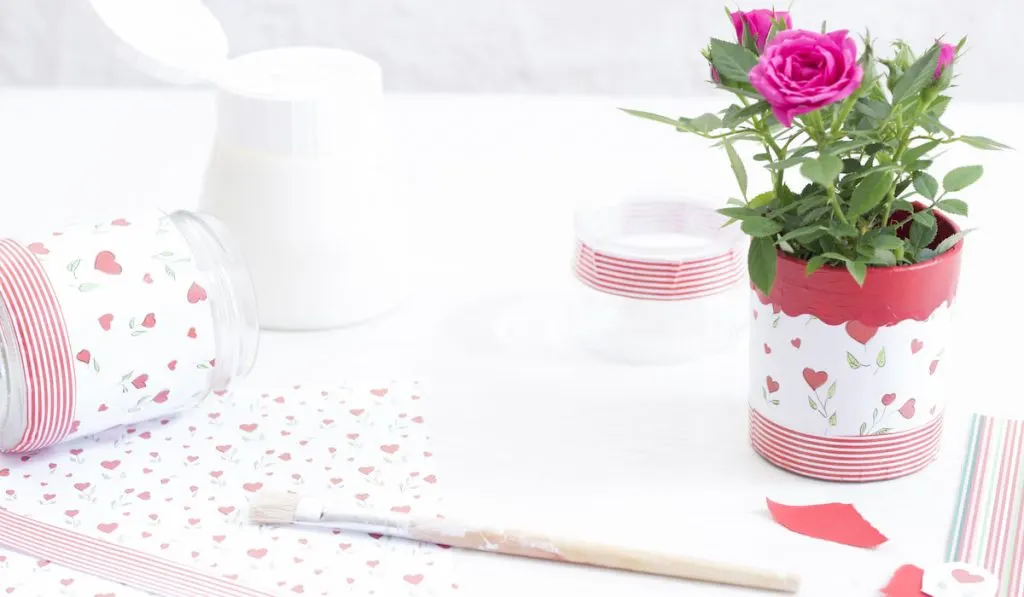
4. Apply Adhesive to the Front of Your Image
With your brush, apply a decent coat of Mod Podge or whatever other crafting adhesive you’re using. Start with the main components of your design first. Insert it into the jar and press it up against the glass.
Once the image is sticking to the glass, use the brush to apply adhesive to the back of the paper so you can stick other things to it. It’s harder to get it in the jar and in place if it has adhesive on both sides before it goes in.

5. Use Your Finger to Press the Edges
Once your image is in and in place, use one of your fingers to really press along the edges of the paper.
One thing people run into all of the time is that the edges of their inserts start to flare as the Mod Podge starts to dry. Pressing the edges helps you avoid any flaring and keeps everything firmly in place.
6. Don’t Worry About the Mess
Sometimes people worry about all of the smudges of Mod Podge around their glass jars.
Don’t worry! Mod Podge and other crafting adhesives dry clear, and after a while, you won’t even see it anymore. Just let it sit once all of your images are in and the adhesive will do the rest.
7. Think About Doing a Background
If you’re putting inserts into your jars like trees, flowers, or animals, then maybe you should consider putting some sort of background along the inside of your glass jar.
A nice colored piece of paper or the patterned page will serve as an excellent backdrop to what you’ve put in the jar.

8. Paint Mod Podge on the Inside of Your Jar for Larger Pieces
If you are putting in a background or inserting any larger images, then you may want to try painting the glass on the inside of the jar with Mod Podge rather than the paper itself.
With so much Mod Podge on the paper, it can be hard to get it in without mucking everything up. Instead, apply a layer to the inside of the jar and you won’t be so worried about messing things up as you insert the paper.
9. Let Things Dry
If you’re new to decoupage on glass, then you’re probably going to be excited about your first few finished products. If you’re doing some crafting with kids, then they’re going to be somewhat impatient, and may not let the glue fully dry before they start handling the jar.
This can make things inside shift. The last thing you want is a beautiful jar with one or two wrinkles in the paper.
Avoid touching the jar before the adhesive fully dries. Just do something else to take your mind off of the project and come back in a few hours. All of that excess Mod Podge should be gone and you’ll have a lovely dry, clear decoupage glass jar for your kitchen, toy room, or crafting room.
Conclusion
These are great gifts for friends and a neat way to breathe new life into any old glass jars that you have laying around.
You can also buy mason jars online or at a local store for cheap, so it’s an inexpensive home project you can try with your kids or the next time you have a crafting buddy over. Good luck!