Decoupage is a great DIY technique to spruce boring household items into colorful, one-of-a-kind art pieces. Whether it’s an old box, a favorite dresser, or a basic wooden tray, it can be turned from drab to fab with some tissue and a few coats of mod podge.
And, the best part is the technique is simple, inexpensive, and time-efficient. Once you own the skill, the only limit is your imagination.
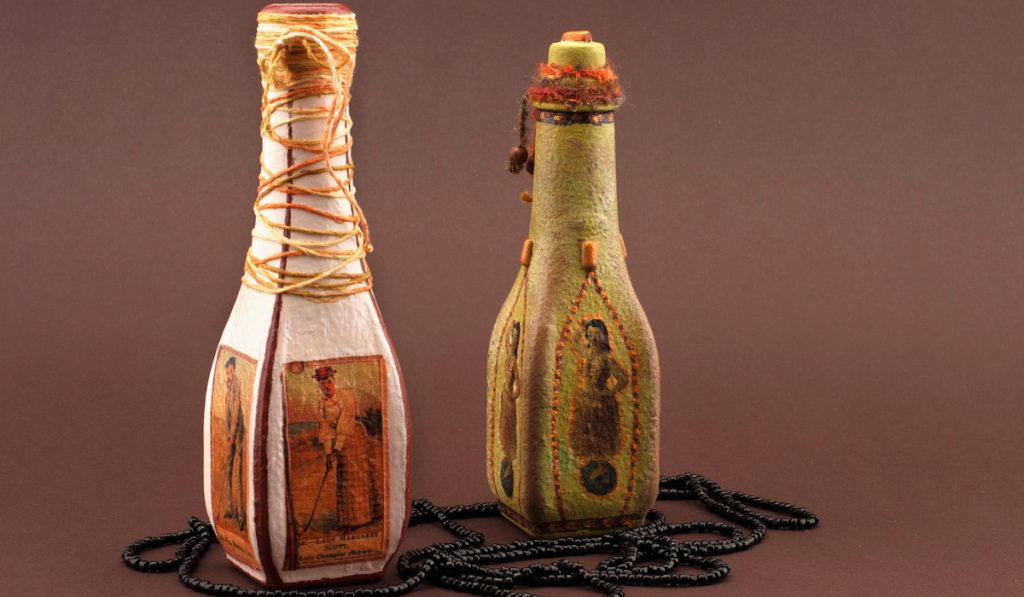
Decoupage on plastic items like spare bottles and containers has lately become popular with internet DIY gurus. Unfortunately, while these pieces make beautiful creations, plastic is not the easiest to decoupage on, especially for beginners.
If you have ever decoupaged on plastic, you already know that the technique is a bit trickier to master than decoupage on other surfaces.
To make sure your new craft doesn’t become a frustrating mess, we’ve put together a list of our 11 best tips for decoupaging on plastic. So, set out your favorite prints and follow along with our easy-to-do guide.

Plastic Decoupaging Tips
These techniques should help if you’re planning to decoupage plastic.
Of course, some projects may be more challenging than others, but as long as you follow the tips and keep trying, it shouldn’t really be too difficult.
Just start with a small project first to get your feet wet before you tackle anything big.
1. Choose the right type of plastic
Not all plastic surfaces are ideal for decoupaging. Mod podge or decoupage medium peels off from shiny, smooth plastic surfaces.
It’s best to test on a small area before starting a project. If it works, then you’re good to go. If not, try using one of the prepping techniques below.
2. Prime the plastic surface before decoupaging
- The surface should be free from dirt and debris to ensure a smooth finish. If you’re using an old item for decoupaging, clean off the surface with rubbing alcohol to remove any grime.
- If the plastic is dark and you think it’ll show through the fabric or tissue, paint it with a light or contrasting color.
- Apply chalk, acrylic, or matt emulsion paint with a sponge (for texture) and let it dry before proceeding.
3. Prepare the items you are decoupaging
Fabric: Wash the cloth, avoid using fabric softener, then iron out any wrinkles. Follow up with a thin layer of mod podge to the material and allow it to dry. This will ensure the cutouts don’t have frayed edges.
Tissue: Only use a single layer of tissue; multi-ply may not dry well and lead to unsightly wrinkles.
Paper: Thin papers like printouts and scrap book sheets can become soggy and tear with glue. Apply a clear acrylic sealer to both sides of these papers to make them more durable.
Otherwise, magazine cutouts and other paper scraps work well for decoupaging.
4. Use the correct type of mod podge
There are so many kinds of mod podge to choose from. Some work better than others; use the type suitable for the items you are decoupaging.
Also, make sure you use generous amounts of mod podge, so the decoupage remains durable. There are also glittery, glow in the dark and waterproof mod podge varieties.
If you’re working with embellishments like beads or crystals, the simple glue won’t work. Instead, you’ll need a hard glue like E600 to attach the decorations.
5. Use small cutouts for curved items
It can be tricky to decoupage onto curvy bottles and bowl shapes. For a good finish, use smaller pieces and work your way around the curves in layers to cover any exposed plastic surface.
6. Smooth out bubbles with a credit card


Bubbles or wrinkles can ruin the final look of your item. You can use a credit card to rub out bubbles and creases.
Start from the center of the decoupaged area and smooth outwards. It’s a simple trick that usually works.
7. Allow items to dry thoroughly between coats of mod podge
Wait for the decoupage to dry before applying a second coat. If your design is too thick and the glue hasn’t dried, it can get soggy and smudge and ruin your piece before you’ve even finished.
The wait time can be up to 24 hours, depending on the size of your project.
8. Sand the surface for a smooth finish
For a smooth finish, sand the surface after each layer of mod podge dries. Use fine sandpaper and lightly remove excess smudges and glue.
9. Apply decoupage to the back of bottles and jars
With transparent bottles, you get the option to decoupage from either side. First, layer the fabric on the back, then apply the embellishments on the outer surface to achieve a 3D effect.
10. Apply a sealer after crafting
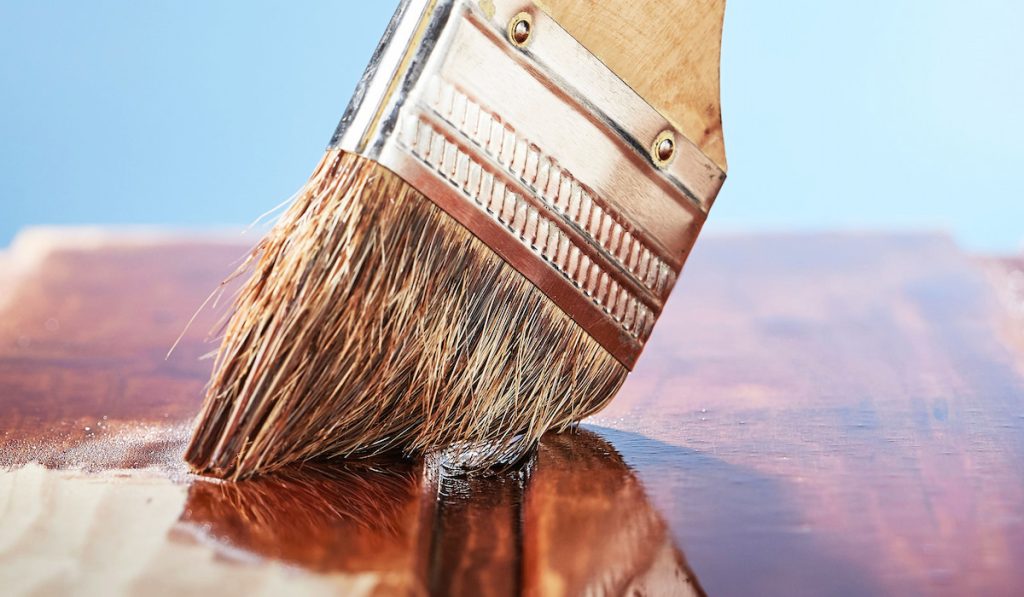

Once you’ve finished your project, apply two coats of acrylic varnish or clear enamel spray paint to the entire project. The sealer will help protect your decoupaged item from dust, fading, and cracking.
If you want a matte finish, use satin spray varnish. For high-gloss, go with gloss or semi-gloss varnish.
11. What if the mod podge is tacky or too sticky after drying?
If your mod podge is tacky, it’s time to re-coat with another layer of varnish. Sometimes the surface become sticky if you don’t let the layers dry in between coats.
15 Ideas of Plastic Items That Can be Spruced up With Decoupage
Once you have mastered the basic techniques, there are a million and one things to decoupage. One of our favorite crowd pleasers is plastic bags. This is a great way to keep them from going into landfills, and the best part is they can be a major style statement.
If you need more inspiration and would like to boldly go where nobody has gone before, here is a list of plastic items to decoupage and give a second life.
- Decoupage a suitcase and transform it into a trendy travel accessory.
- Transform the transparent makeup cases into statement pieces.
- Give a second life to that old keyboard or piano with decoupaged keys.
- Have an old garbage bin? Decoupage it with fabric scraps to give it a chic look.
- Transform a candy jar into a stylish vase for flowers.
- Give life to those old ice cream bowls you have lying around, and use them as storage boxes.
- You can also make small decoupaged favor cases for party favors.
- Clocks can be transformed into a chic piece of art for the bedroom.
- Decoupage those ugly organizers into chic jewelry boxes.
- Give boring, plastic mugs a glamorous makeover with floral prints.
- Decoupage cheap plastic planters with Berber print fabric for a pop of color on the patio.
- Make a plain lampshade look luxurious with exotic prints.
- Give storage bags a stylish boost with some funky decals.
- Decoupaged plastic bottles are very hipster chic. And you can use them to store herbs and spices in the kitchen.
- Cheap plastic plates can be turned into faux bamboo placemats.
Resources:
- https://modpodgerocksblog.com/the-7-steps-to-perfect-mod-podging-every-time/
- https://www.theboondocksblog.com/how-to-not-decoupage-plastic-bottles-with-napkins
- https://blog.createandcraft.tv/how-to-use-mod-podge-ideas/
- https://modpodgerocksblog.com/learn-how-to-mod-podge/
- https://modpodgerocksblog.com/decoupage-ideas/