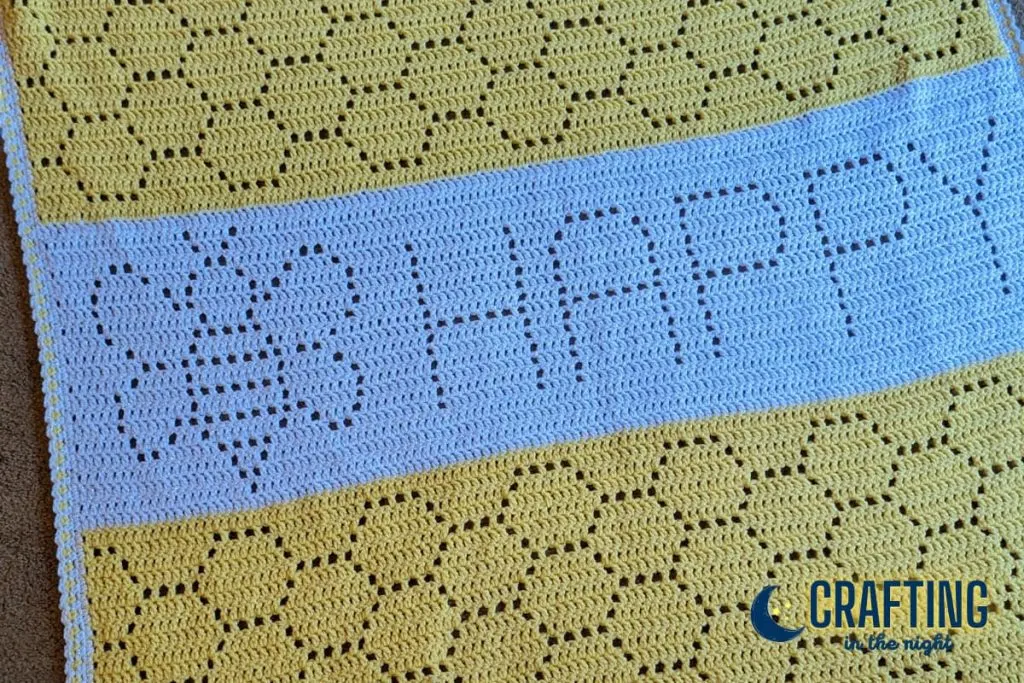
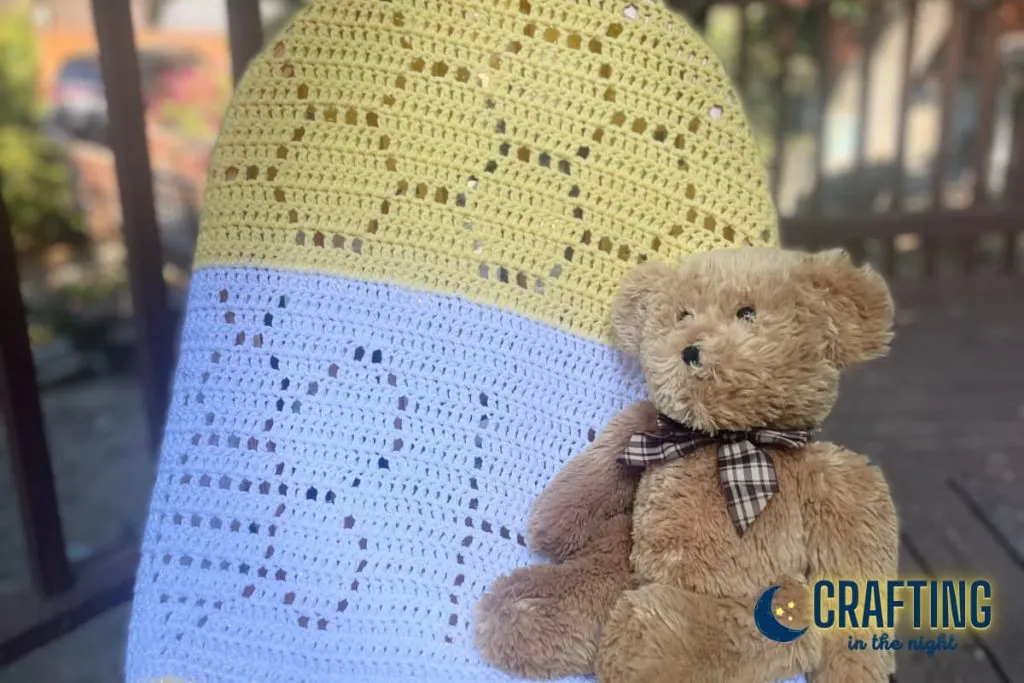
I recently had the pleasure of working on the Bee Happy Blanket, a delightful filet crochet pattern that combines a modern design with a touch of whimsy. This pattern, designed by Becca Bomgardner, is available on Etsy and allows you to create a beautiful blanket featuring honeycomb motifs and a fun message, all while providing flexibility in terms of yarn weight and hook size.
One of the standout features of this pattern is its versatility. Whether you prefer working with bulky yarn and a larger hook for a cozy, oversized blanket or opt for a lighter weight yarn and a smaller hook for a more delicate and compact design, the Bee Happy Blanket pattern accommodates your preferences.
The instructions provide yarn amounts specifically for a blanket measuring approximately 30×38 inches using DK yarn and a 4mm hook, but the pattern can be easily adjusted to create a larger or smaller finished size.

Materials
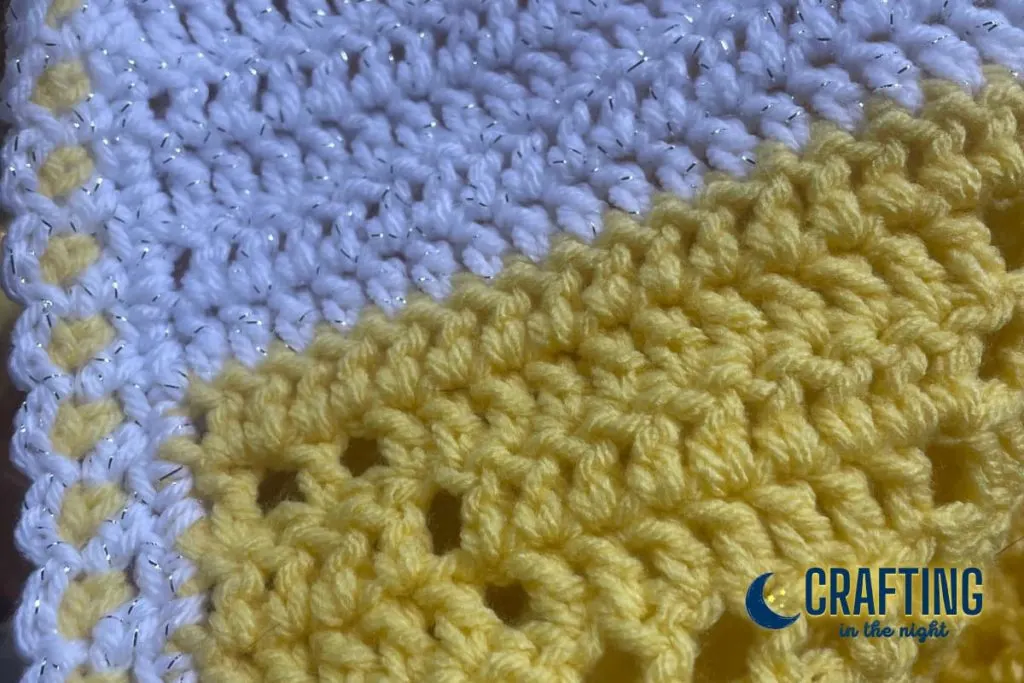
For this blanket, I used worsted weight (#4) yarn.
- Size J Crochet Hook (I love this set)
- Lion Brand Pound of Love – Honey Bee– 1 Skien
- I Love This Yarn Metallic – White – 1 Skien
💡 Caron Simply Soft Party in White would also give a nice sparkle.
Construction
For those new to filet crochet or in need of a refresher, the pattern includes stitch tutorial links and other helpful tips and tricks.
The instructions are written in numerical filet, a method that is gaining popularity due to its simplicity and ease of understanding. The pattern provides clear instructions for this method, making it accessible to crocheters of all skill levels.

Beginner-Friendly Crochet Pattern
This was my first filet crochet blanket and I loved that it was easy to know if my counts were off. The pattern is worked from the bottom up, so it is quite easy to make modifications, as I did, if you need to.
One aspect that I particularly appreciated about the Bee Happy Blanket pattern is the fact that there were very few ends to weave in. In fact, with the way I worked up the pattern in two colors, there were only six total ends to weave in.
Changes I Made
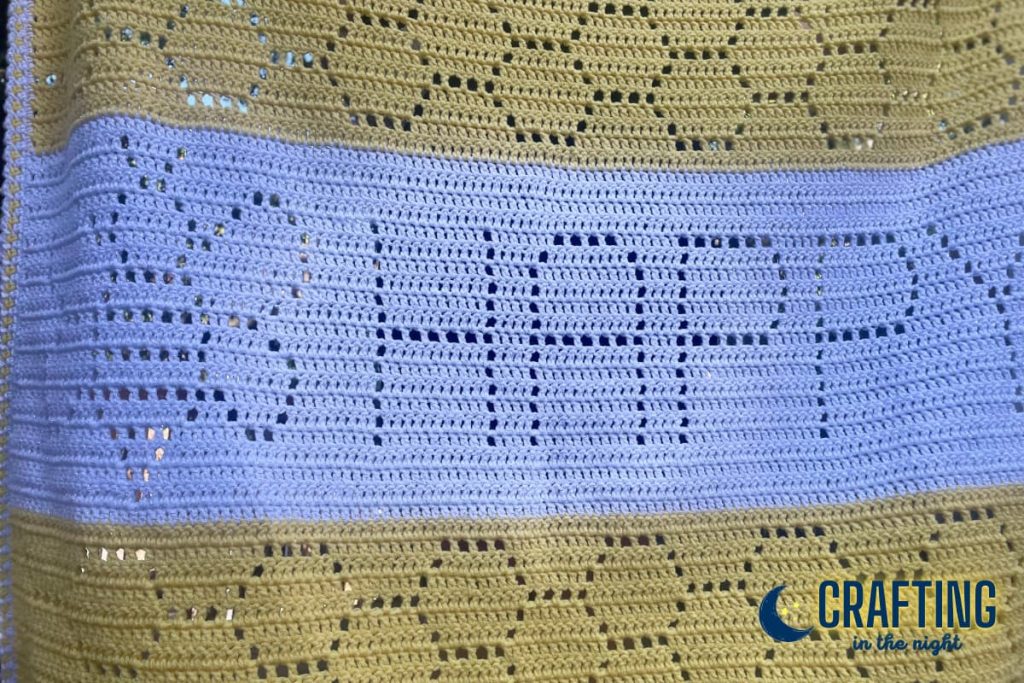
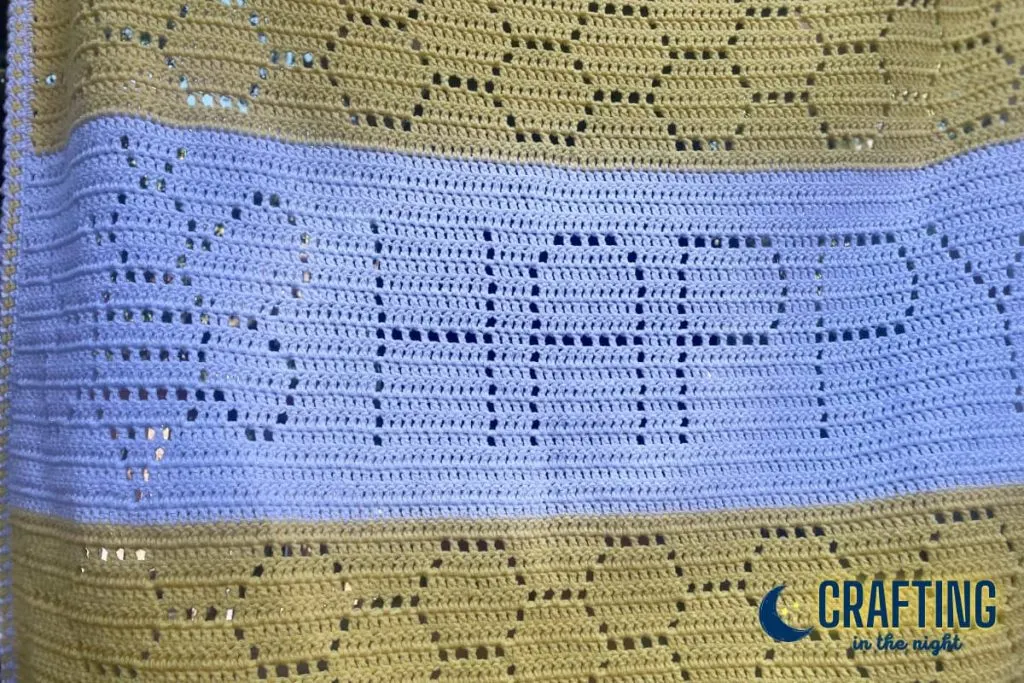
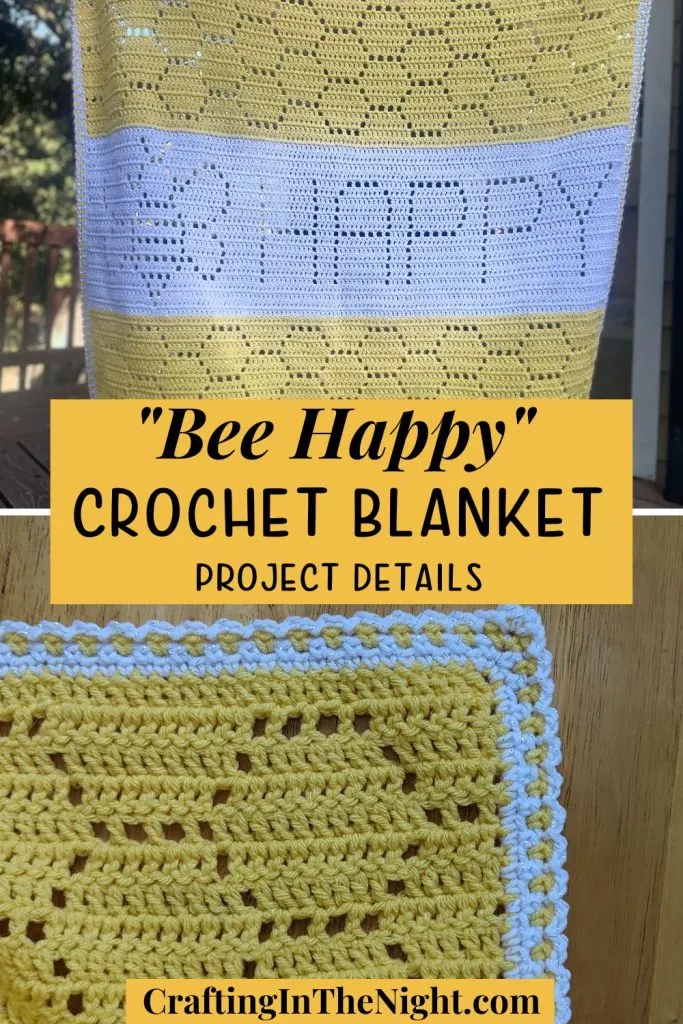
I decided to have the “Bee Happy” pattern right in the middle of the blanket. Doing so is a very simple modification. I also wanted the blanket square, both of which worked out perfectly.
To make my blanket, I simply worked rows 64 – 82, then the graphic panel, then rows 64 – 82 again.
This change, along with my choice of a #4 yarn and size J (6.0) mm hook, resulted in a finished project of 46″ wide and 44.5″ long.
# Ends to Weave
When I added my border (not included in the purchased pattern), that added another six ends. Compared to some projects, I felt like twelve total ends was a fair enough trade for such a beautiful project.
Pattern Support
Although I didn’t need it, the pattern offers additional support along the way. If you encounter any difficulties or have questions during the crocheting process, the creator of the pattern provides a Facebook group and email address for assistance.
Choosing Colors
The Etsy listing for this blanket shows some great examples of ways that color can be incorporated into the pattern. For my version, I had a full skein of Lion Brand Pound of Love in the color Honey Bee that I knew would be perfect for this project.

I chose to use I Love This Yarn Metallic in white as the accent color and I love the result. I think that a light grey accent panel would have worked out nicely as well.
The colors can be truly customized and Becca gives instructions for making a four-color version as well if you desire.
Free Crochet Project Tracker
The Perfect Border

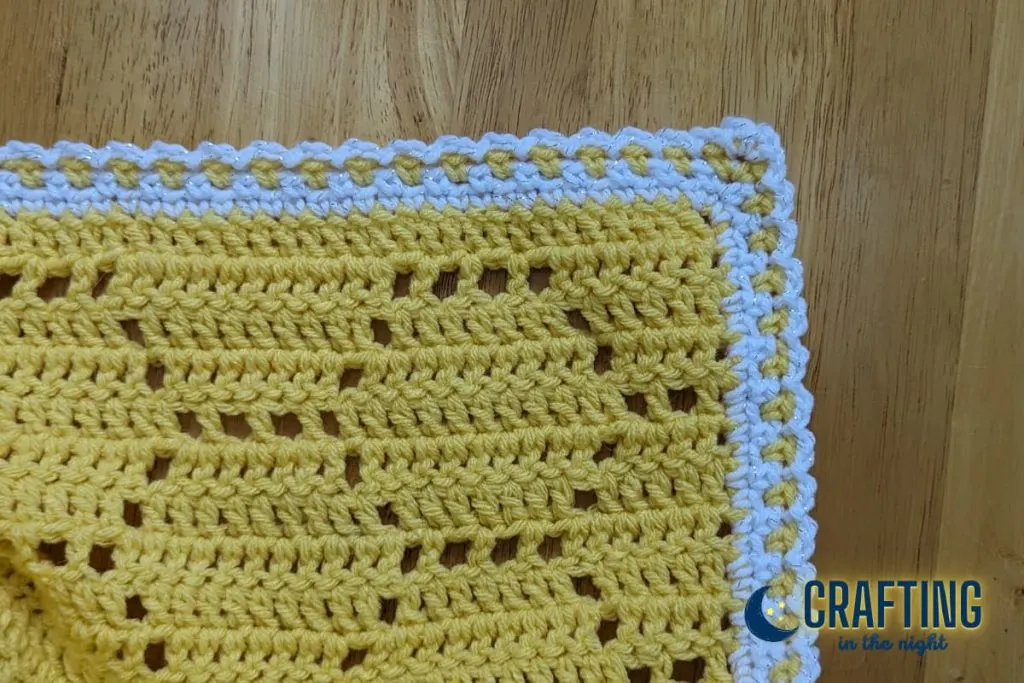
While the filet crochet pattern lends itself to very straight edges on all sides, I personally like to include some type of border. I had very little of the yellow yarn left over so I knew a minimal border was going to work best without having to buy a new skein (this was my only one of the Pound of Love in Honey Bee).
Creating a Starting Point
Before starting on the border, I created a consistent edge around the project using a single crochet. In the corners, I added 3 single crochets. I tried to place the single crochets down each side as evenly as possible.
This blanket was all double crochets. The starting chain was a foundation double crochet so the tops and bottoms were easy to work one single crochet into each stitch. For the sides, I placed 1 – 2 single crochets around the side of each double crochet.
Pattern: With white, make a slip knot and join into the top of any chain stitch. *Single crochet in each chain until you reach the corner. Place three single crochets into the corner space (if this is hard to get into, just eyeball it).
Place 1 – 2 single crochets around the post of each double crochet down the side. Place 3 single crochets into the corner space. Repeat from *. End by joining with a slip stitch to the first single crochet.
Border Pattern
Once the blanket had a single crochet edging all the way around, it was time to start the border pattern. For three rows I used a standard moss stitch. The fourth and final row gives the border a uniquely elegant yet minimal feel.
Row 1: Continuing with white, chain 1, single crochet into the same space *chain one, skip the next stitch, single crochet in the next. Repeat from * until you get to the corner. Into the corner place a single crochet, chain 1, single crochet into the same space. Repeat as above for the entire blanket. Join with a slip stitch into the first single crochet.
Row 2: Chain 1, *single crochet into the chain 1 space from the previous row, chain 1*. Repeat from * until you get to the corner. Into the corner chain 1 space, place a single crochet, chain 1, single crochet into the same chain one space. Repeat as above for the entire blanket. Finish off with a slip stitch in to the first single crochet of the row. Leave a long enough tail to weave in later.

Row 3: Join your second color (in my case yellow) with a single crochet into any chain 1 space. Work row 3 as you did row 2, finishing off with a slip stitch into the first single crochet of the row and leaving a long tail to weave in later.
Row 4: Join your main color again (white) with a single crochet into any chain 1 space. *Chain 2, single crochet into the chain 1 space from the previous row*. Repeat from * until you reach the corner. Into the corner chain 1 space place a single crochet, chain 1, single crochet. Continue repeating this pattern for the entire blanket. Finish off with a slip stitch to the first single crochet of the row. Leave a long enough tail to weave in later.
Final Thoughts
The finished results of the Bee Happy Blanket are stunning, and the blankets showcased in the photo credits demonstrate the beauty that can be achieved with this pattern.
I highly recommend the Bee Happy Blanket pattern to crochet enthusiasts looking to create a charming and modern filet crochet blanket. The pattern’s versatility, clear instructions, inclusion of charts, and available support make it an excellent choice for crocheters of all skill levels. So, grab your yarn and hooks and get ready to crochet your way to a Bee Happy Blanket!