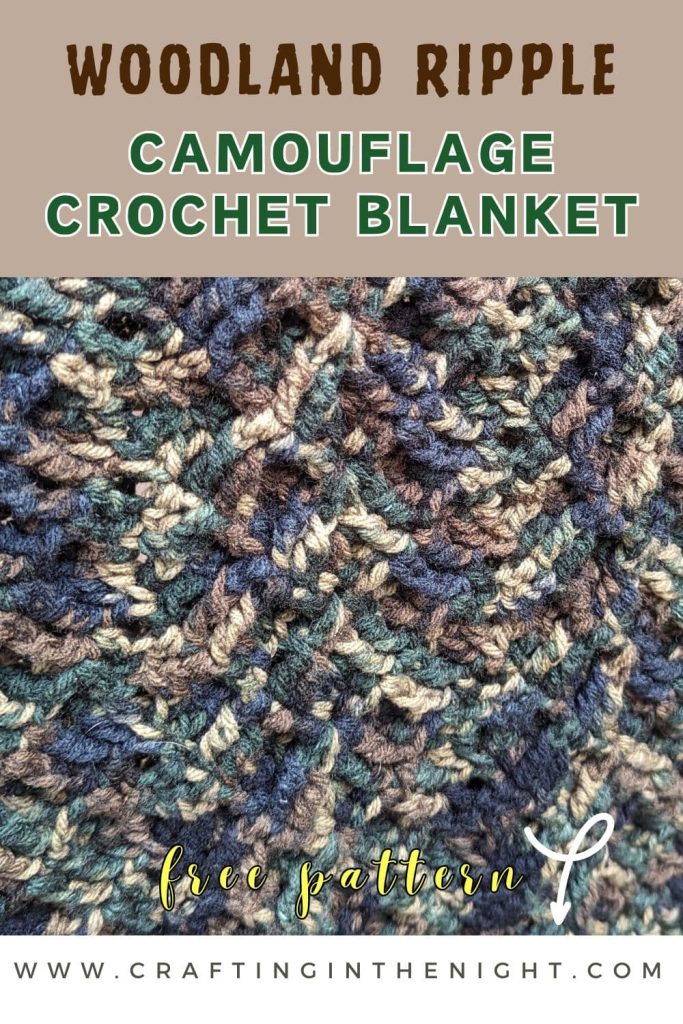
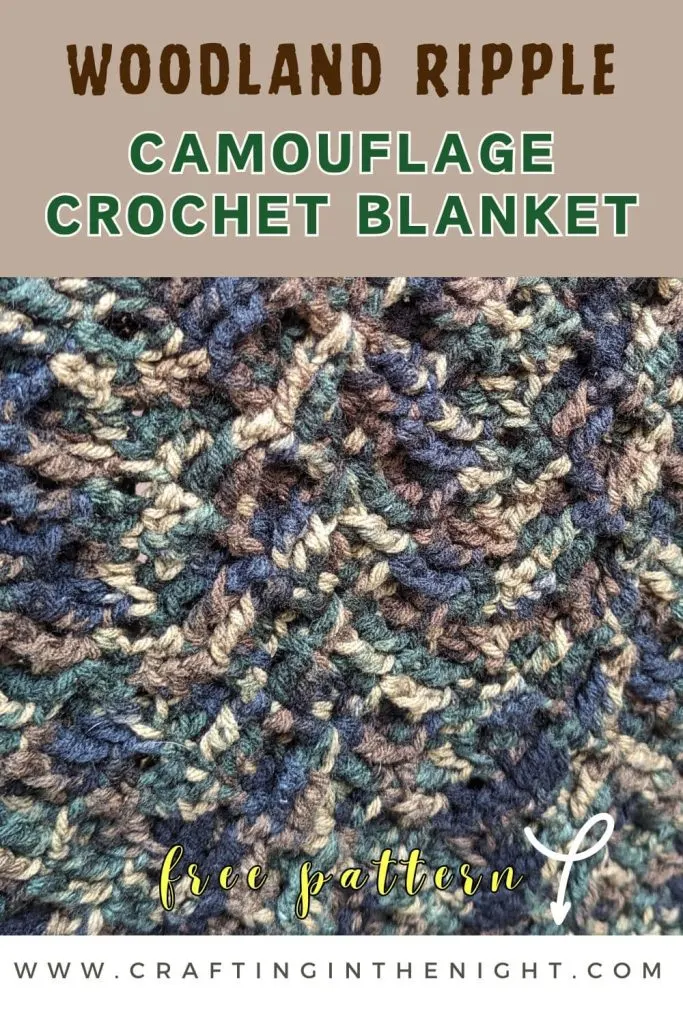
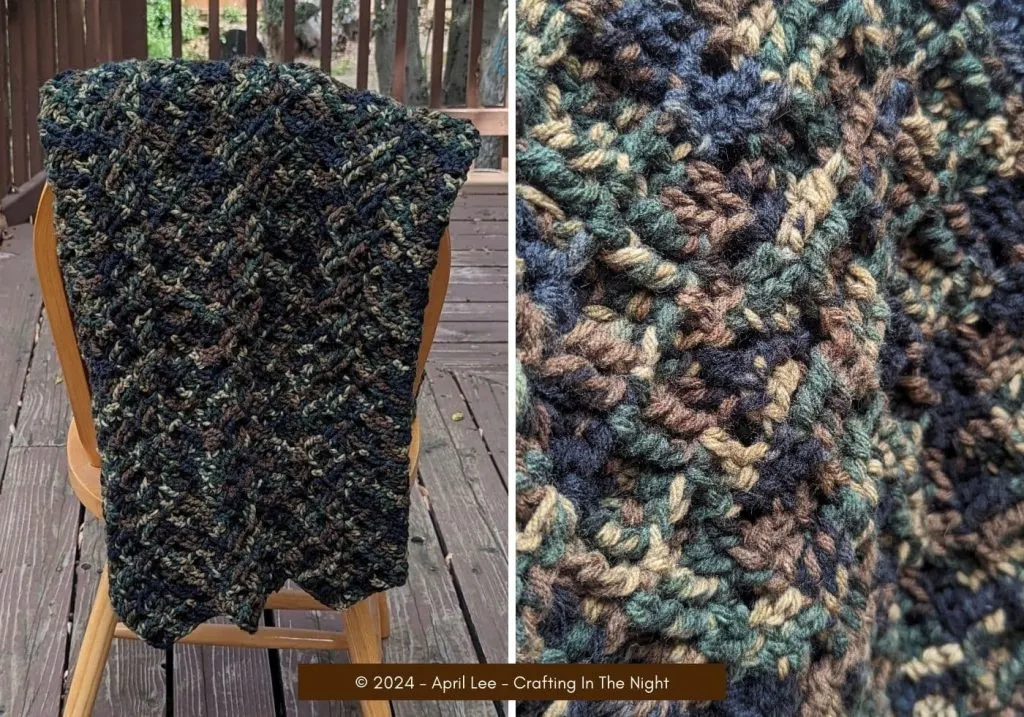
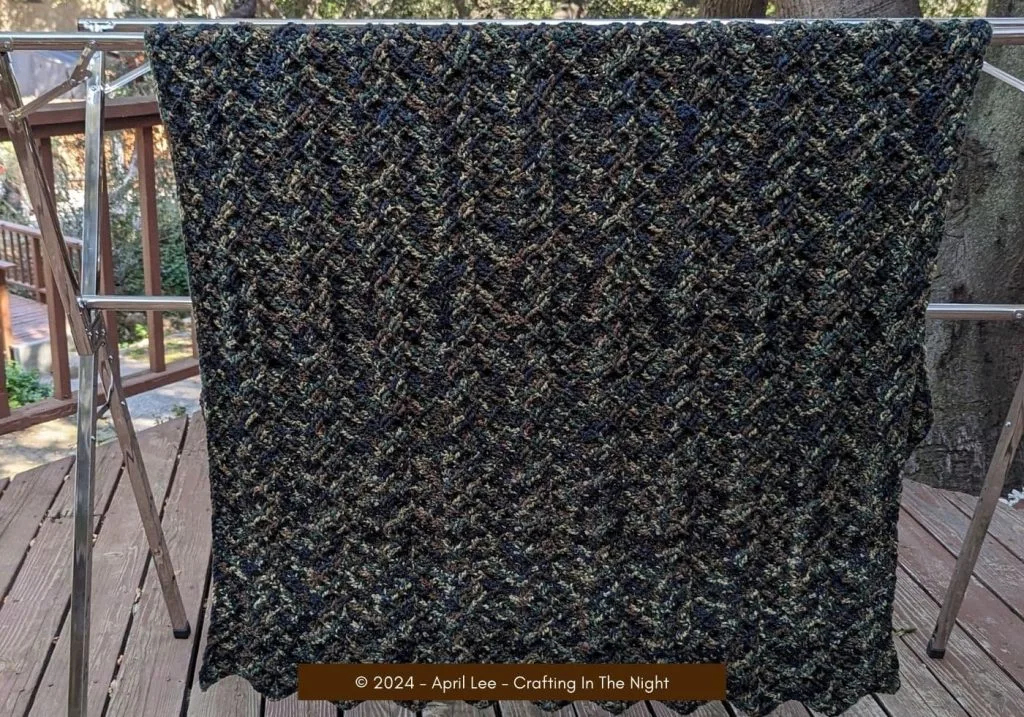
I’m so excited to share with you all about my latest project, the “Woodland Ripple”! It’s a camouflage crochet blanket that really brings a piece of the wilderness into your home. Made with Red Heart Super Saver yarn in a beautiful camouflage color, it’s not just warm; it’s also incredibly stylish and full of personality. The Double Triple Ripple stitch I used adds a unique texture that’s as delightful to touch as it is to look at.
Creating this blanket was like weaving a bit of the great outdoors into every stitch. The pattern reminds me of the colors and textures you’d find in a deer blind, surrounded by nature’s splendor. It’s got that rugged, adventurous feel while being cozy and comforting – perfect for snuggling up on a chilly evening.
Materials
- Red Heart Super Saver – Camouflage Print – 10 skeins
- Size J (6.0 mm) Crochet Hook (I love this set from Amazon.com)
- Yarn Needle
Crochet Skills Needed
In order to complete this blanket, you will need to either know or be willing to learn the following crochet concepts:
- Chain
- Double crochet
- Double crochet two together
- Front post triple crochet
Free Camouflage Crochet Blanket Pattern
- Skill Level: Intermediate
- Finished Size: 54″ W x 70″ H
- # Ends to Weave In: 2
Starting Chain: 233 (or any multiple of 23 + 3)

Row 1
Double crochet in the 4th chain from the hook. Double crochet in the next 9 chains (this forms 11 double crochets for the first side). *Skip 3 chains, double crochet in the next 10 chains, chain 3, double crochet in the next 10 chains.* Repeat from *. Place 1 extra double crochet in the last stitch (2 double crochets in the last chain).
Tip: At the end of row one, the starting leg and ending leg of the ripple should each have 11 stitches. All other areas of the ripple should have 10 stitches between the hills and the valleys.
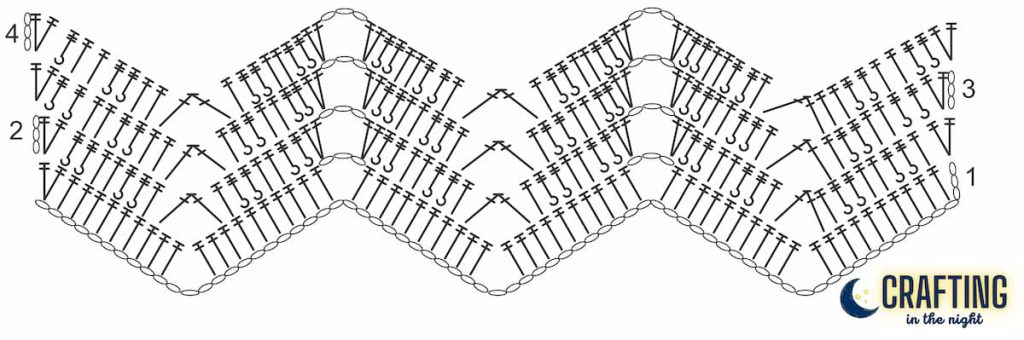
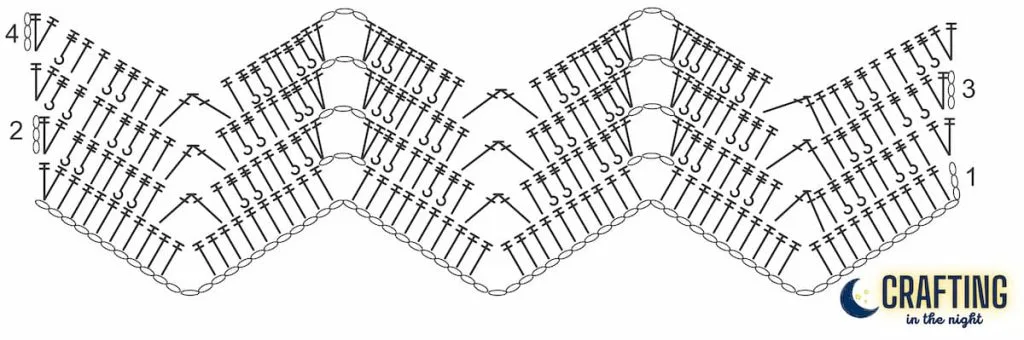
Row 2
For row two and moving forward, I’ve broken this version of the pattern up into the main components of the ripple. Once you start to learn the pattern, it becomes easier to know where you are and what you should do.
1st Leg: Chain 3, turn. Place 2 double crochets in the same space (4th stitch from the hook). In the following stitches work 2 Front Post Treble Crochets, 2 Double Crochets, 2 Front Post Treble Crochets, 1 Double Crochet.
Valley: To create the valley, you’ll need to work [1 Double Crochet, Skip 4, 1 Double Crochet] together.
Uphill: Double crochet in next stitch. In the following stitches work 2 Front Post Treble Crochets, 2 Double Crochets, 2 Front Post Treble Crochets.
Peak: Work 2 double crochets into the chain 3 space, chain 3, work 2 double crochets into the chain space.
Downhill: Into the next stitches work 2 Front Post Treble Crochets, 2 Double Crochets, 2 Front Post Treble Crochets, 1 Double Crochet.*
Repeat from * until the last leg of the ripple.
Last Leg: For the last valley you will work [1 Double Crochet, Skip 3, 1 Double Crochet] together. Then, complete the rest of the last leg by working 1 double crochet, 2 Front Post Treble Crochets, 2 Double Crochets, 2 Front Post Treble Crochets, 2 Double Crochets in top of chain 3 from previous round.
Row 3
Starting in this row, the number of stitches skipped in our double crochet 2 together changes. I’ve bolded those changes in the pattern below.
1st Leg: Chain 3, turn. Place 2 double crochets in the same space (4th stitch from the hook). In the following stitches work 2 Front Post Treble Crochets, 2 Double Crochets, 2 Front Post Treble Crochets, 1 Double Crochet.
*Valley: To create the valley, you’ll need to work [1 Double Crochet, Skip 3, 1 Double Crochet] together.
Uphill: Double crochet in next stitch. In the following stitches work 2 Front Post Treble Crochets, 2 Double Crochets, 2 Front Post Treble Crochets.
Peak: Work 2 double crochets into the chain 3 space, chain 3, work 2 double crochets into the chain space.
Downhill: Into the next stitches work 2 Front Post Treble Crochets, 2 Double Crochets, 2 Front Post Treble Crochets, 1 Double Crochet.*
Repeat from * until the last leg of the ripple.
Last Leg: For the last valley you will work [1 Double Crochet, Skip 2, 1 Double Crochet] together. Then, complete the rest of the last leg by working 1 double crochet, 2 Front Post Treble Crochets, 2 Double Crochets, 2 Front Post Treble Crochets, 2 Double Crochets in top of chain 3 from previous round.

Row 4
This is the repeat row for the rest of the pattern. The patterns for the 1st leg and last leg change completely here. This is because we want to maintain the texture on the sides as much as possible. In order to do that, we need to try and place our Front Post Treble Crochets around each Double Crochet from the previous round, and our Double Crochets on top of the Front Post Treble Crochets from the previous round. The exception to this is that we always want to use a double crochet for the double crochet 2 together valley transition due to stitch height.
1st Leg: Chain 3, turn. Place 2 double crochets in the same space (4th stitch from the hook). In the following stitches work 1 Front Post Treble Crochet, 2 Double Crochets, 1 Front Post Treble Crochet, 2 Double Crochets, 1 Front Post Treble Crochet.
*Valley: To create the valley, you’ll need to work [1 Double Crochet, Skip 3, 1 Double Crochet] together.
Uphill: Double crochet in next stitch. In the following stitches work 2 Front Post Treble Crochets, 2 Double Crochets, 2 Front Post Treble Crochets.
Peak: Work 2 double crochets into the chain 3 space, chain 3, work 2 double crochets into the chain space.
Downhill: Into the next stitches work 2 Front Post Treble Crochets, 2 Double Crochets, 2 Front Post Treble Crochets, 1 Double Crochet.*
Repeat from * until the last leg of the ripple.
Last Leg: For the last valley you will work [1 Double Crochet, Skip 2, 1 Double Crochet] together. Then, complete the rest of the last leg by working 2 Front Post Treble Crochets, 1 Double Crochet, 2 Front Post Treble Crochets, 1 Double Crochet, 2 Front Post Treble Crochets, 2 Double Crochets in top of chain 3 from previous round.
Continue repeating Row 4, until your project reaches its desired size.
Video Tutorial
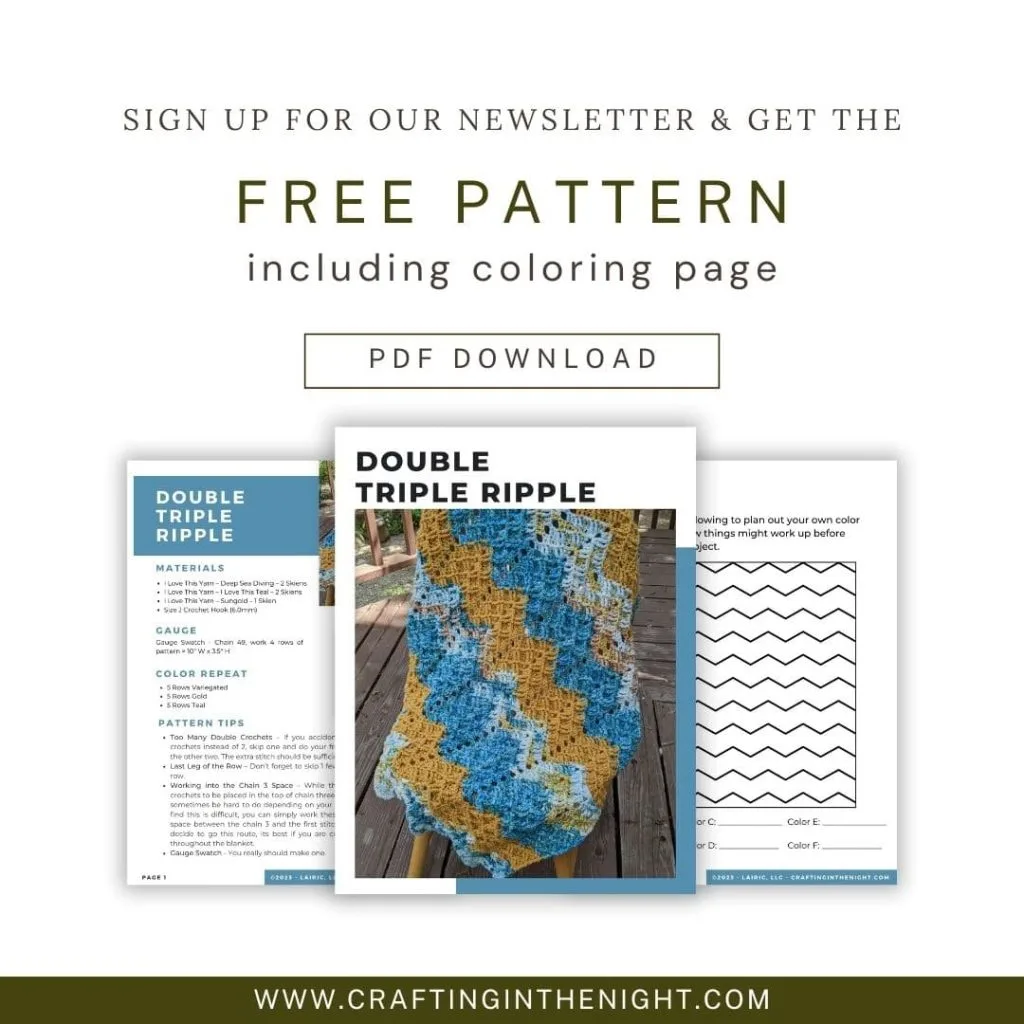
FREE Pattern .PDF
This downloadable pattern is free for newsletter subscribers and includes:
• 12 pages of easy-to-follow instructions
• UK and US crochet terms
Keep in mind this pattern is for the original color variation and size of this blanket.


Share Your Work
Did you create a project based on this pattern? I’d love to see your creation. Tag me on Instagram or post a picture in my Facebook group!